Consumable In-App Product
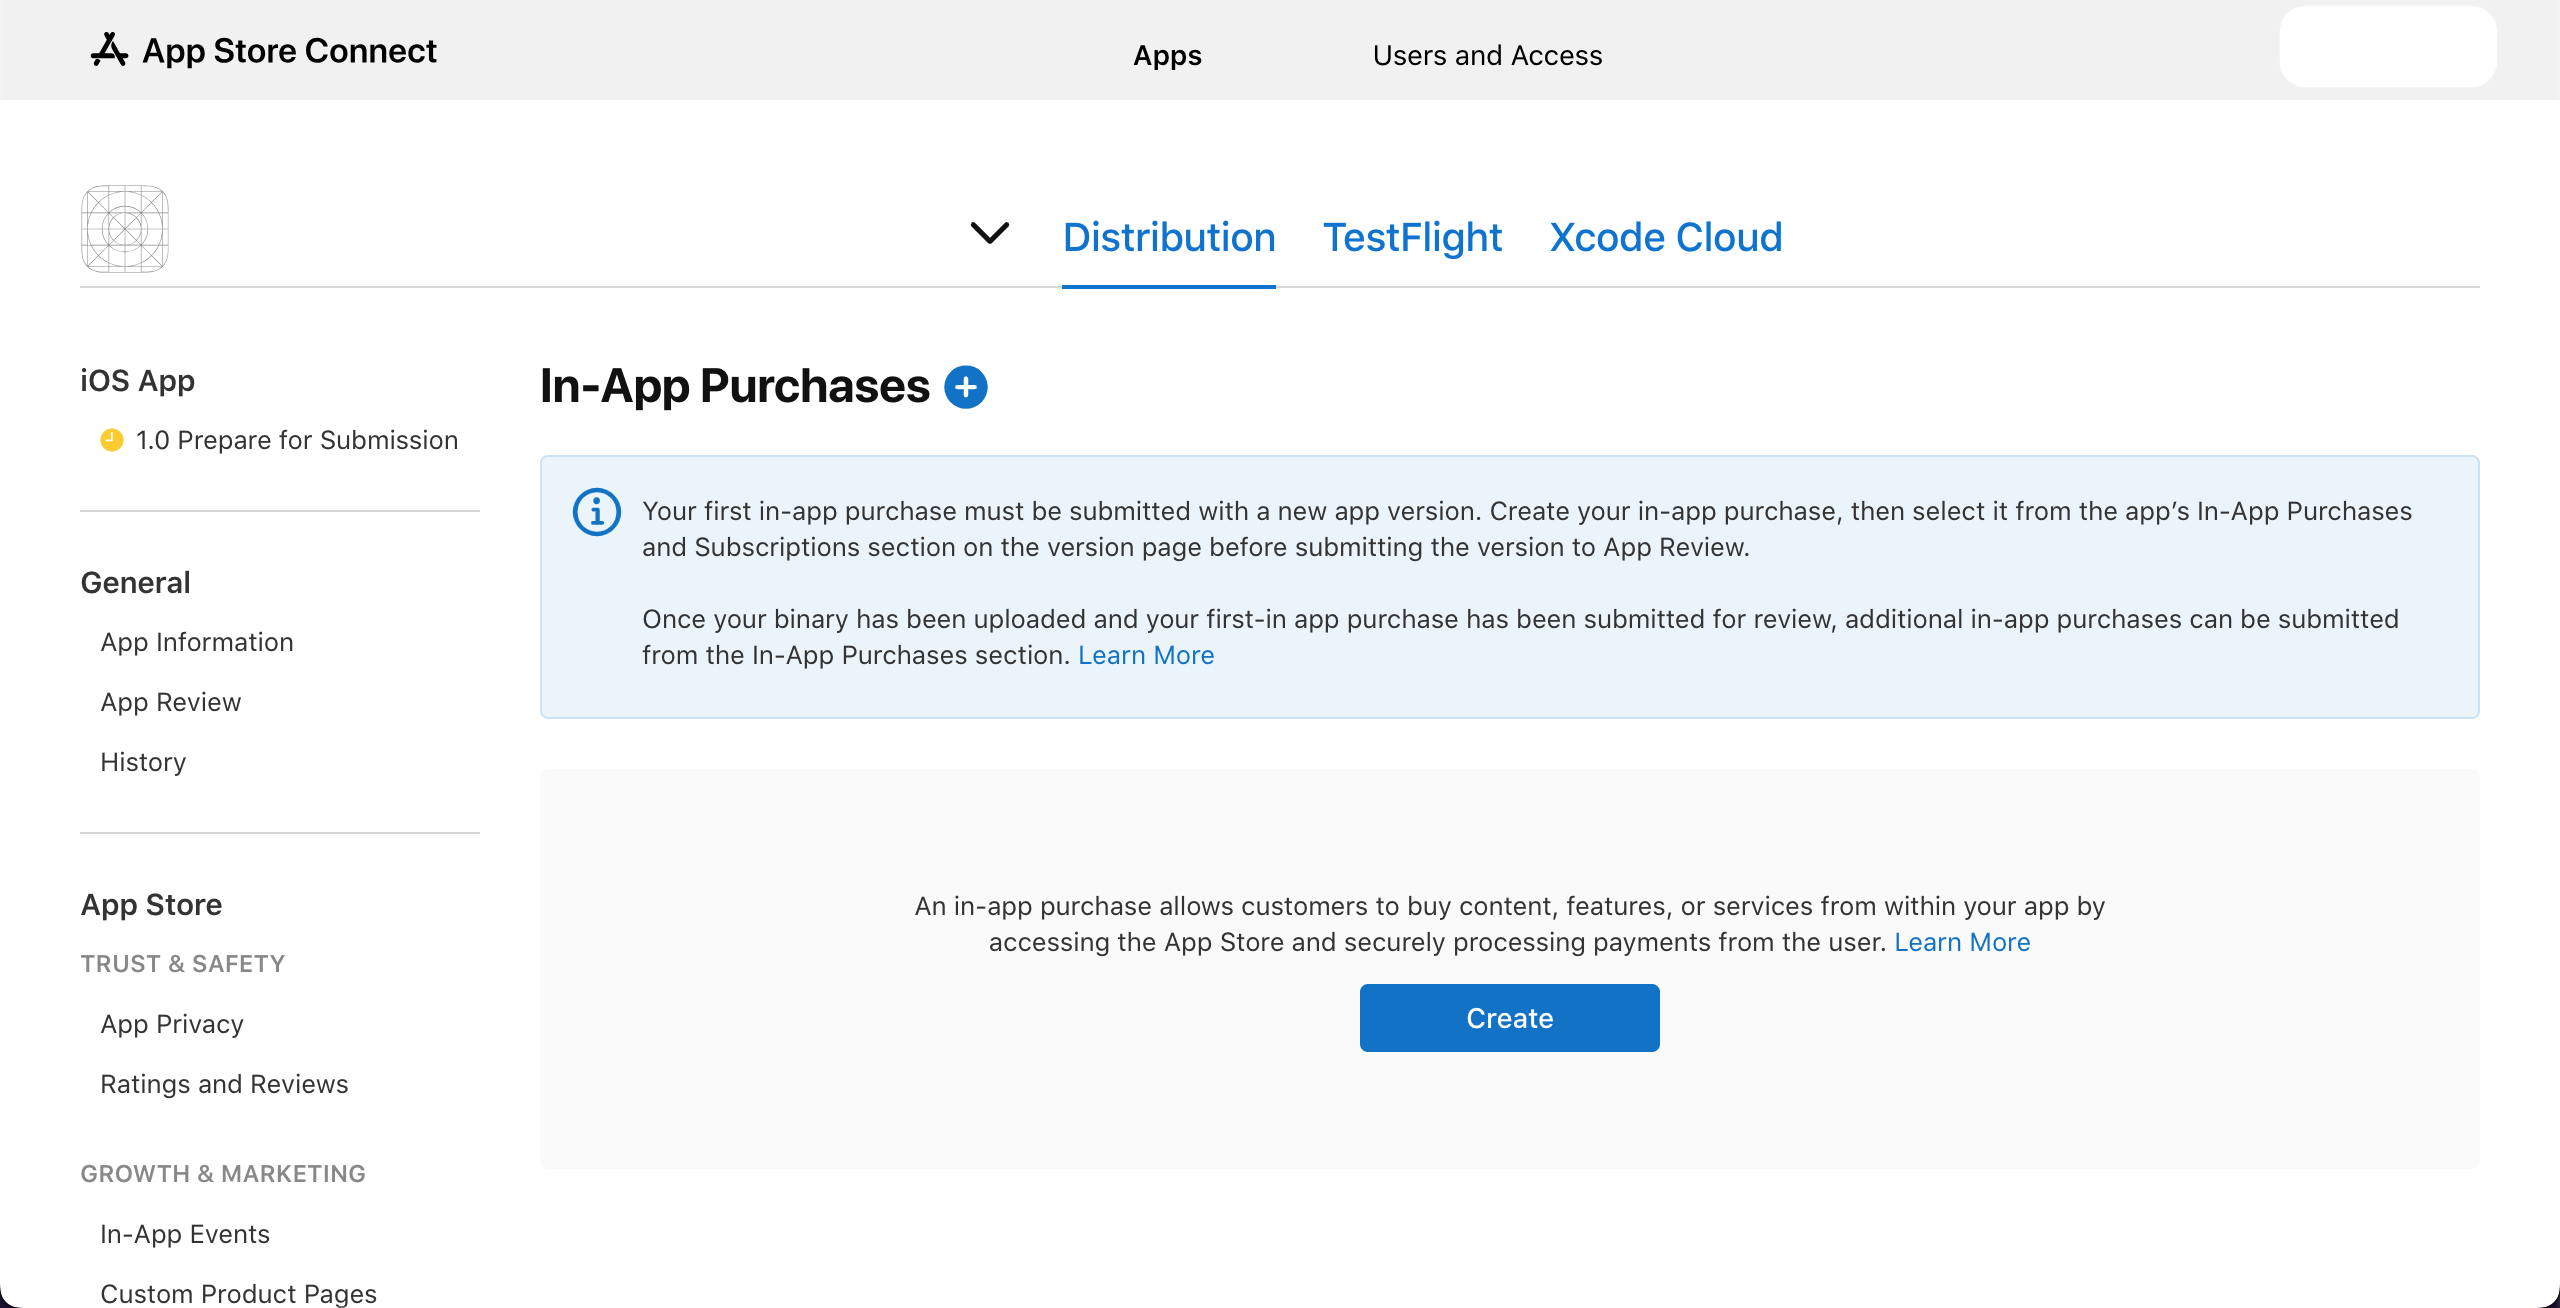
- Open App Store Connect and open application you want to add in-app purchase. On left slider slide down to Distribution > Monetization > In-App Purchases.
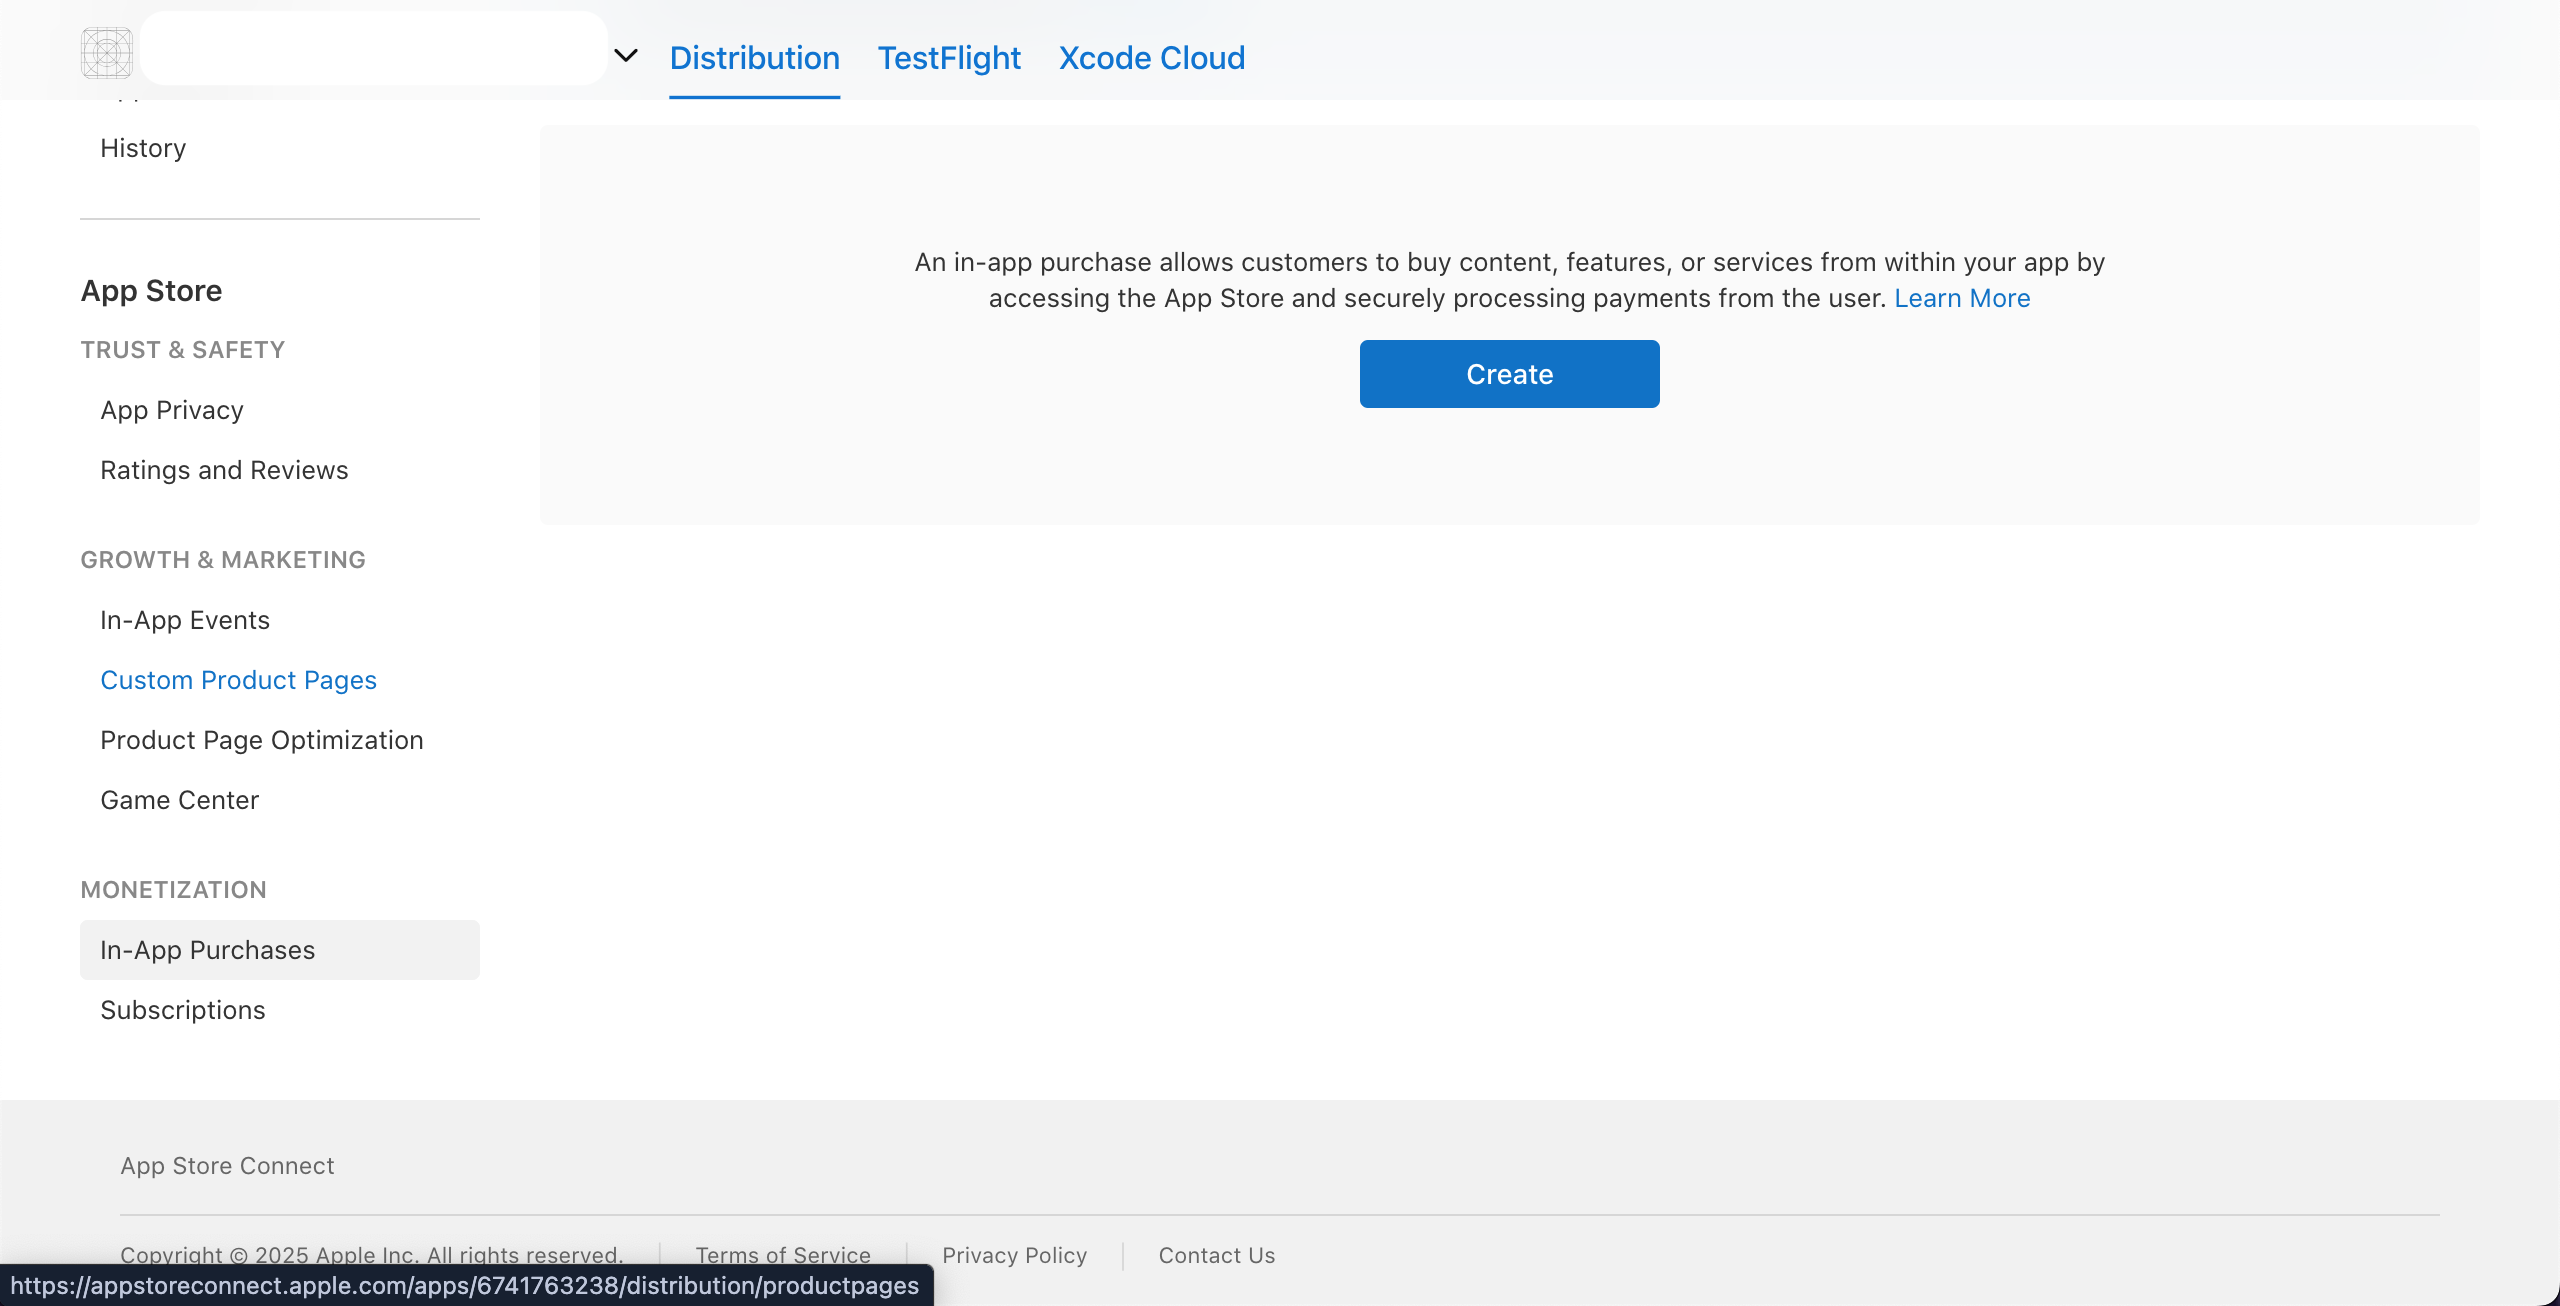
- Click on + icon or Create button to add in-app product.
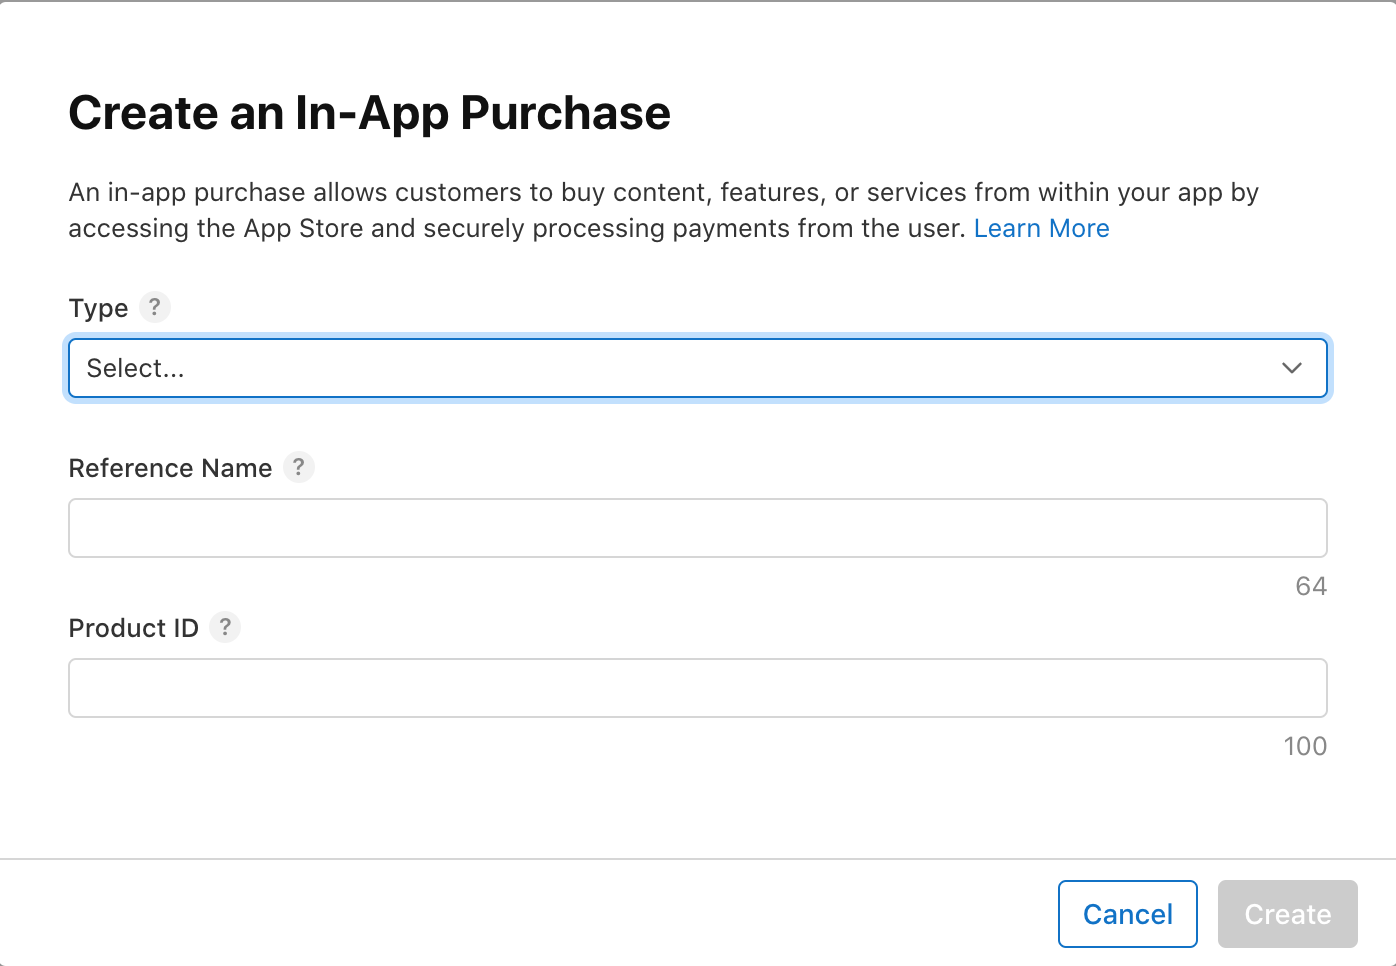
- Select which type of product you want to create, consumable or non-consumable in-app purchase.
- Give a Reference Name. The reference name will be used on App Store Connect and in Sales and Trends reports. It won't be displayed on the App Store.
- Entre Product ID and hit create.
Take care
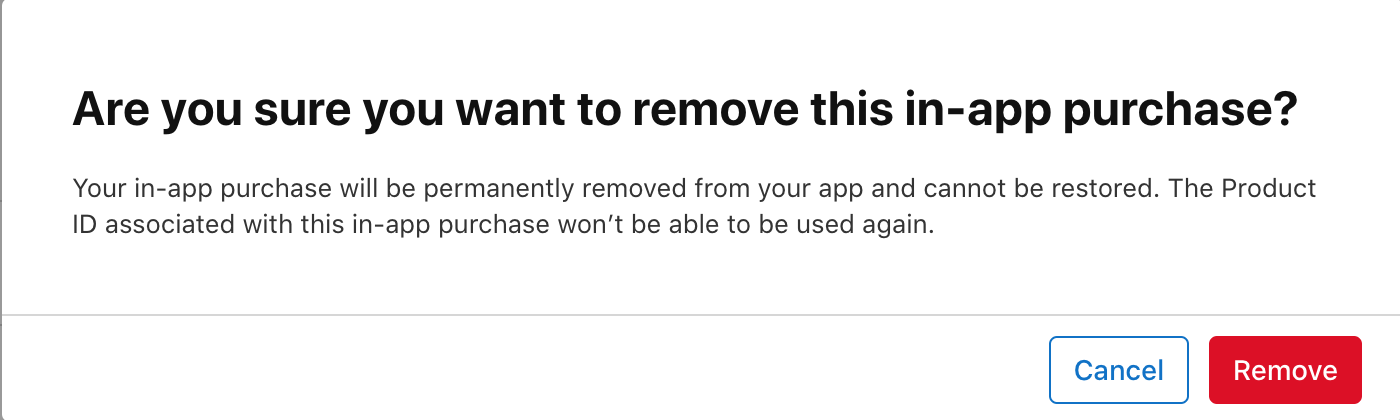
- You can’t change or reuse a Product ID after the product has been created.
- Also on deleting product you can not use same Product ID.
- To know more about naming convention for ProductID head over to common practices.
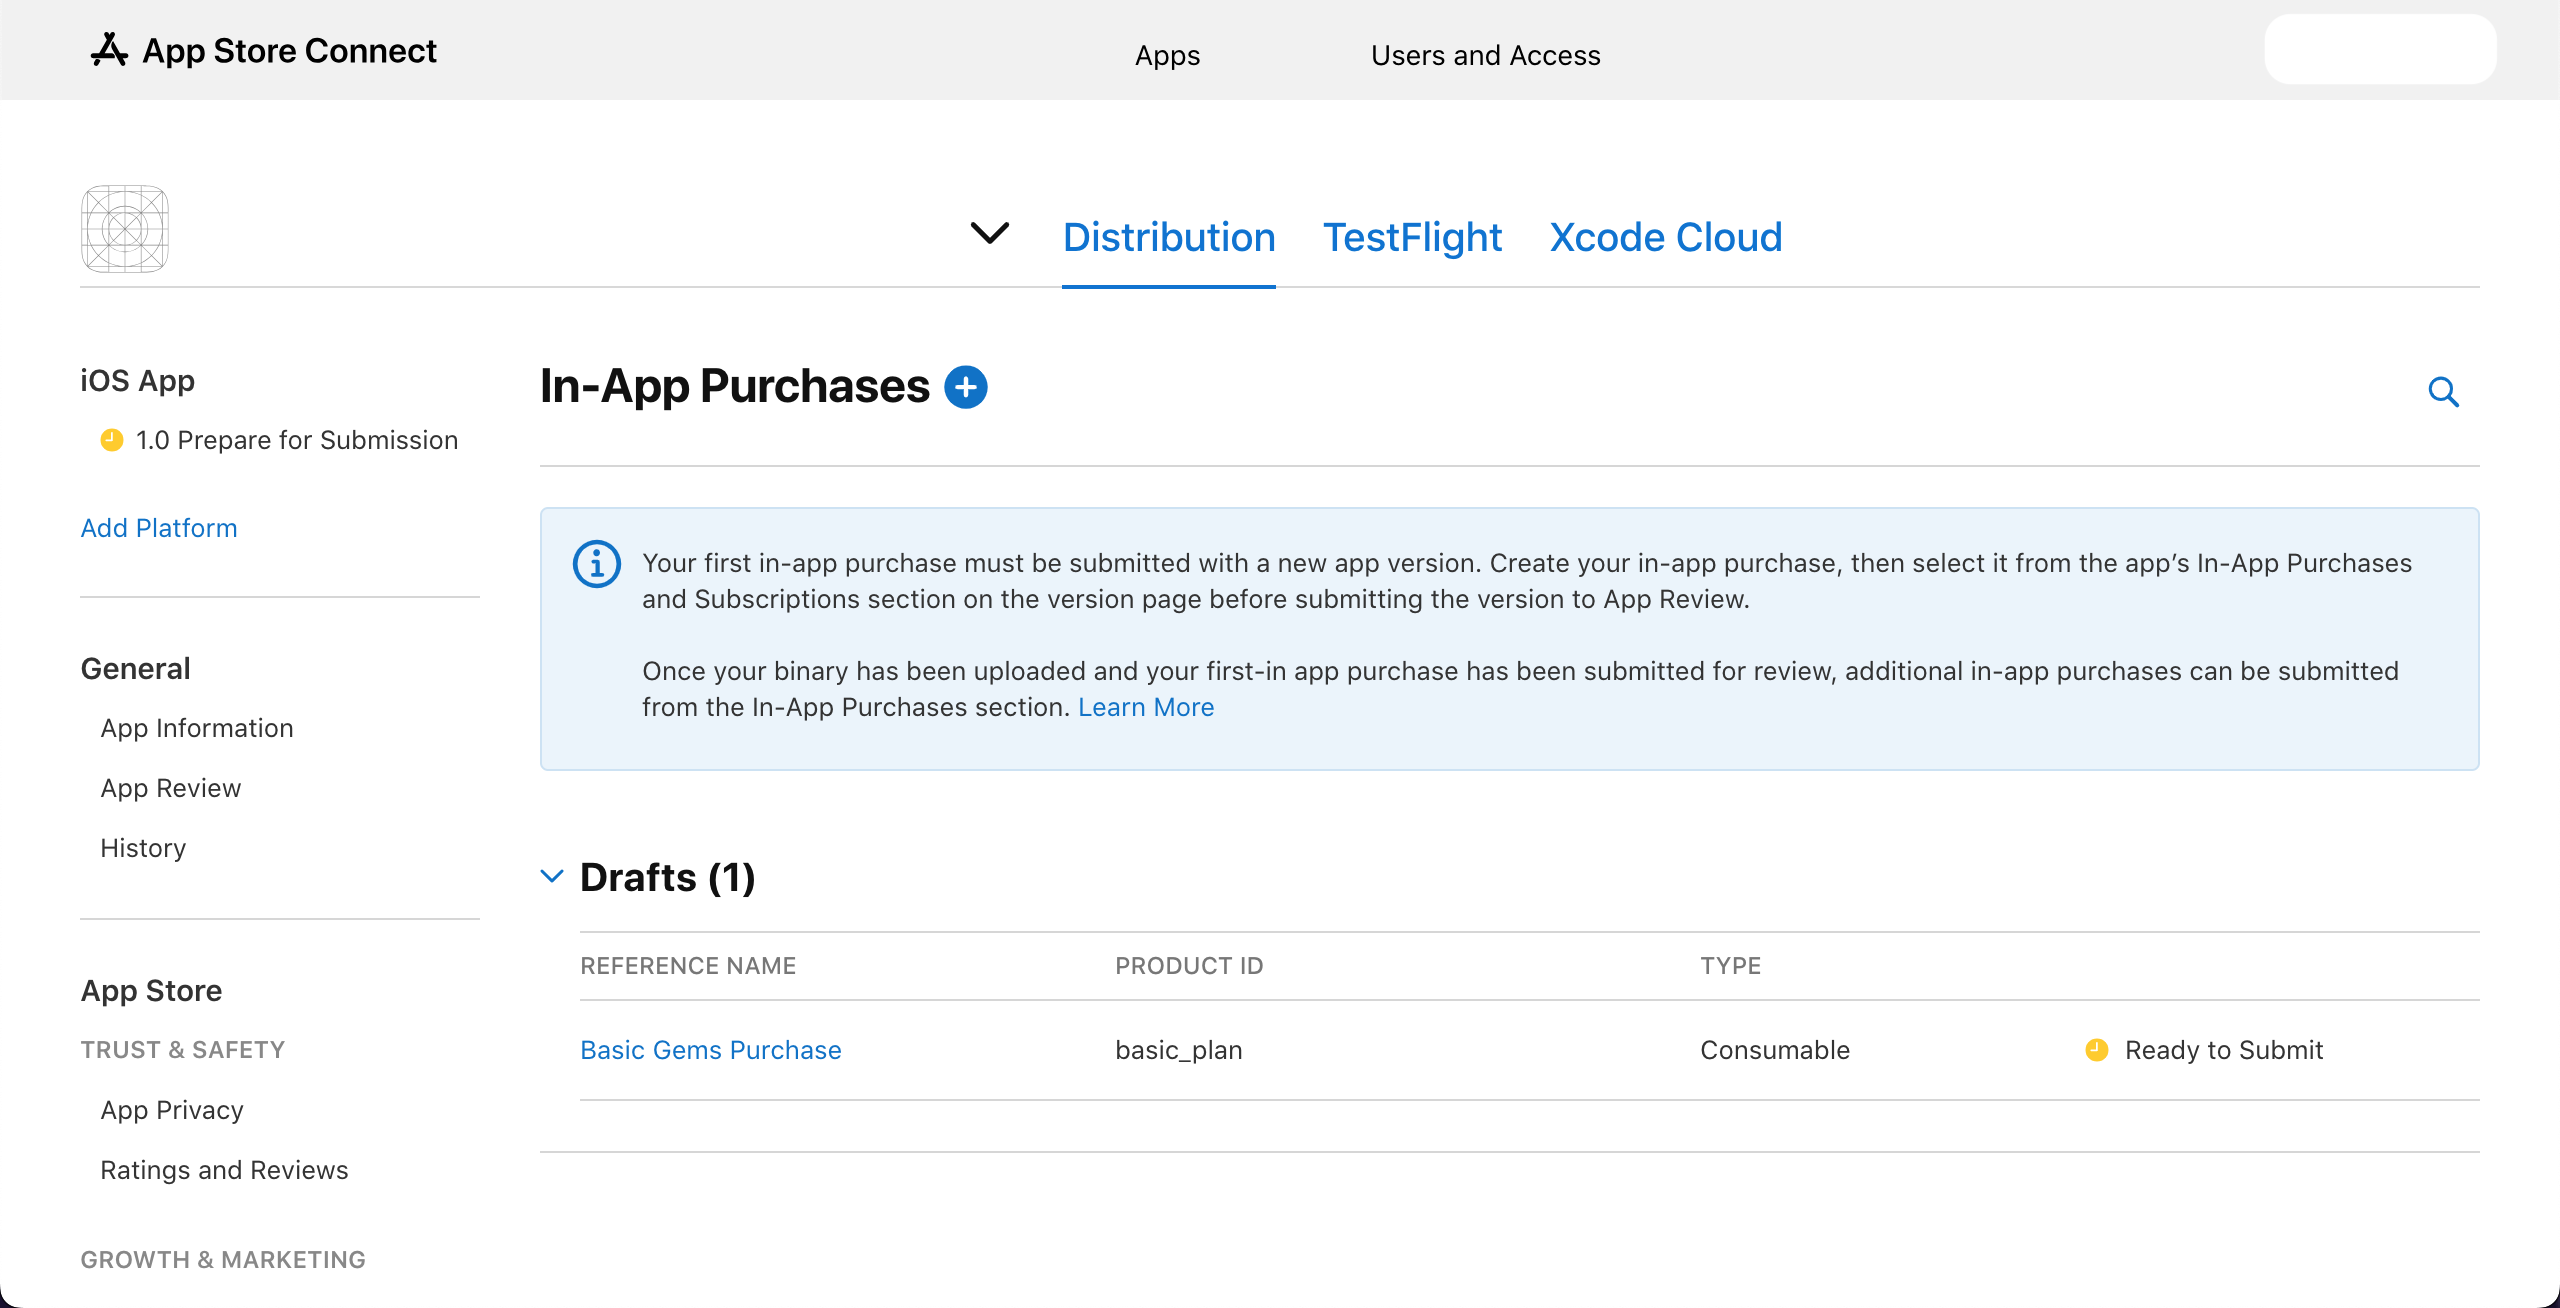
- Purchase product is generated now.

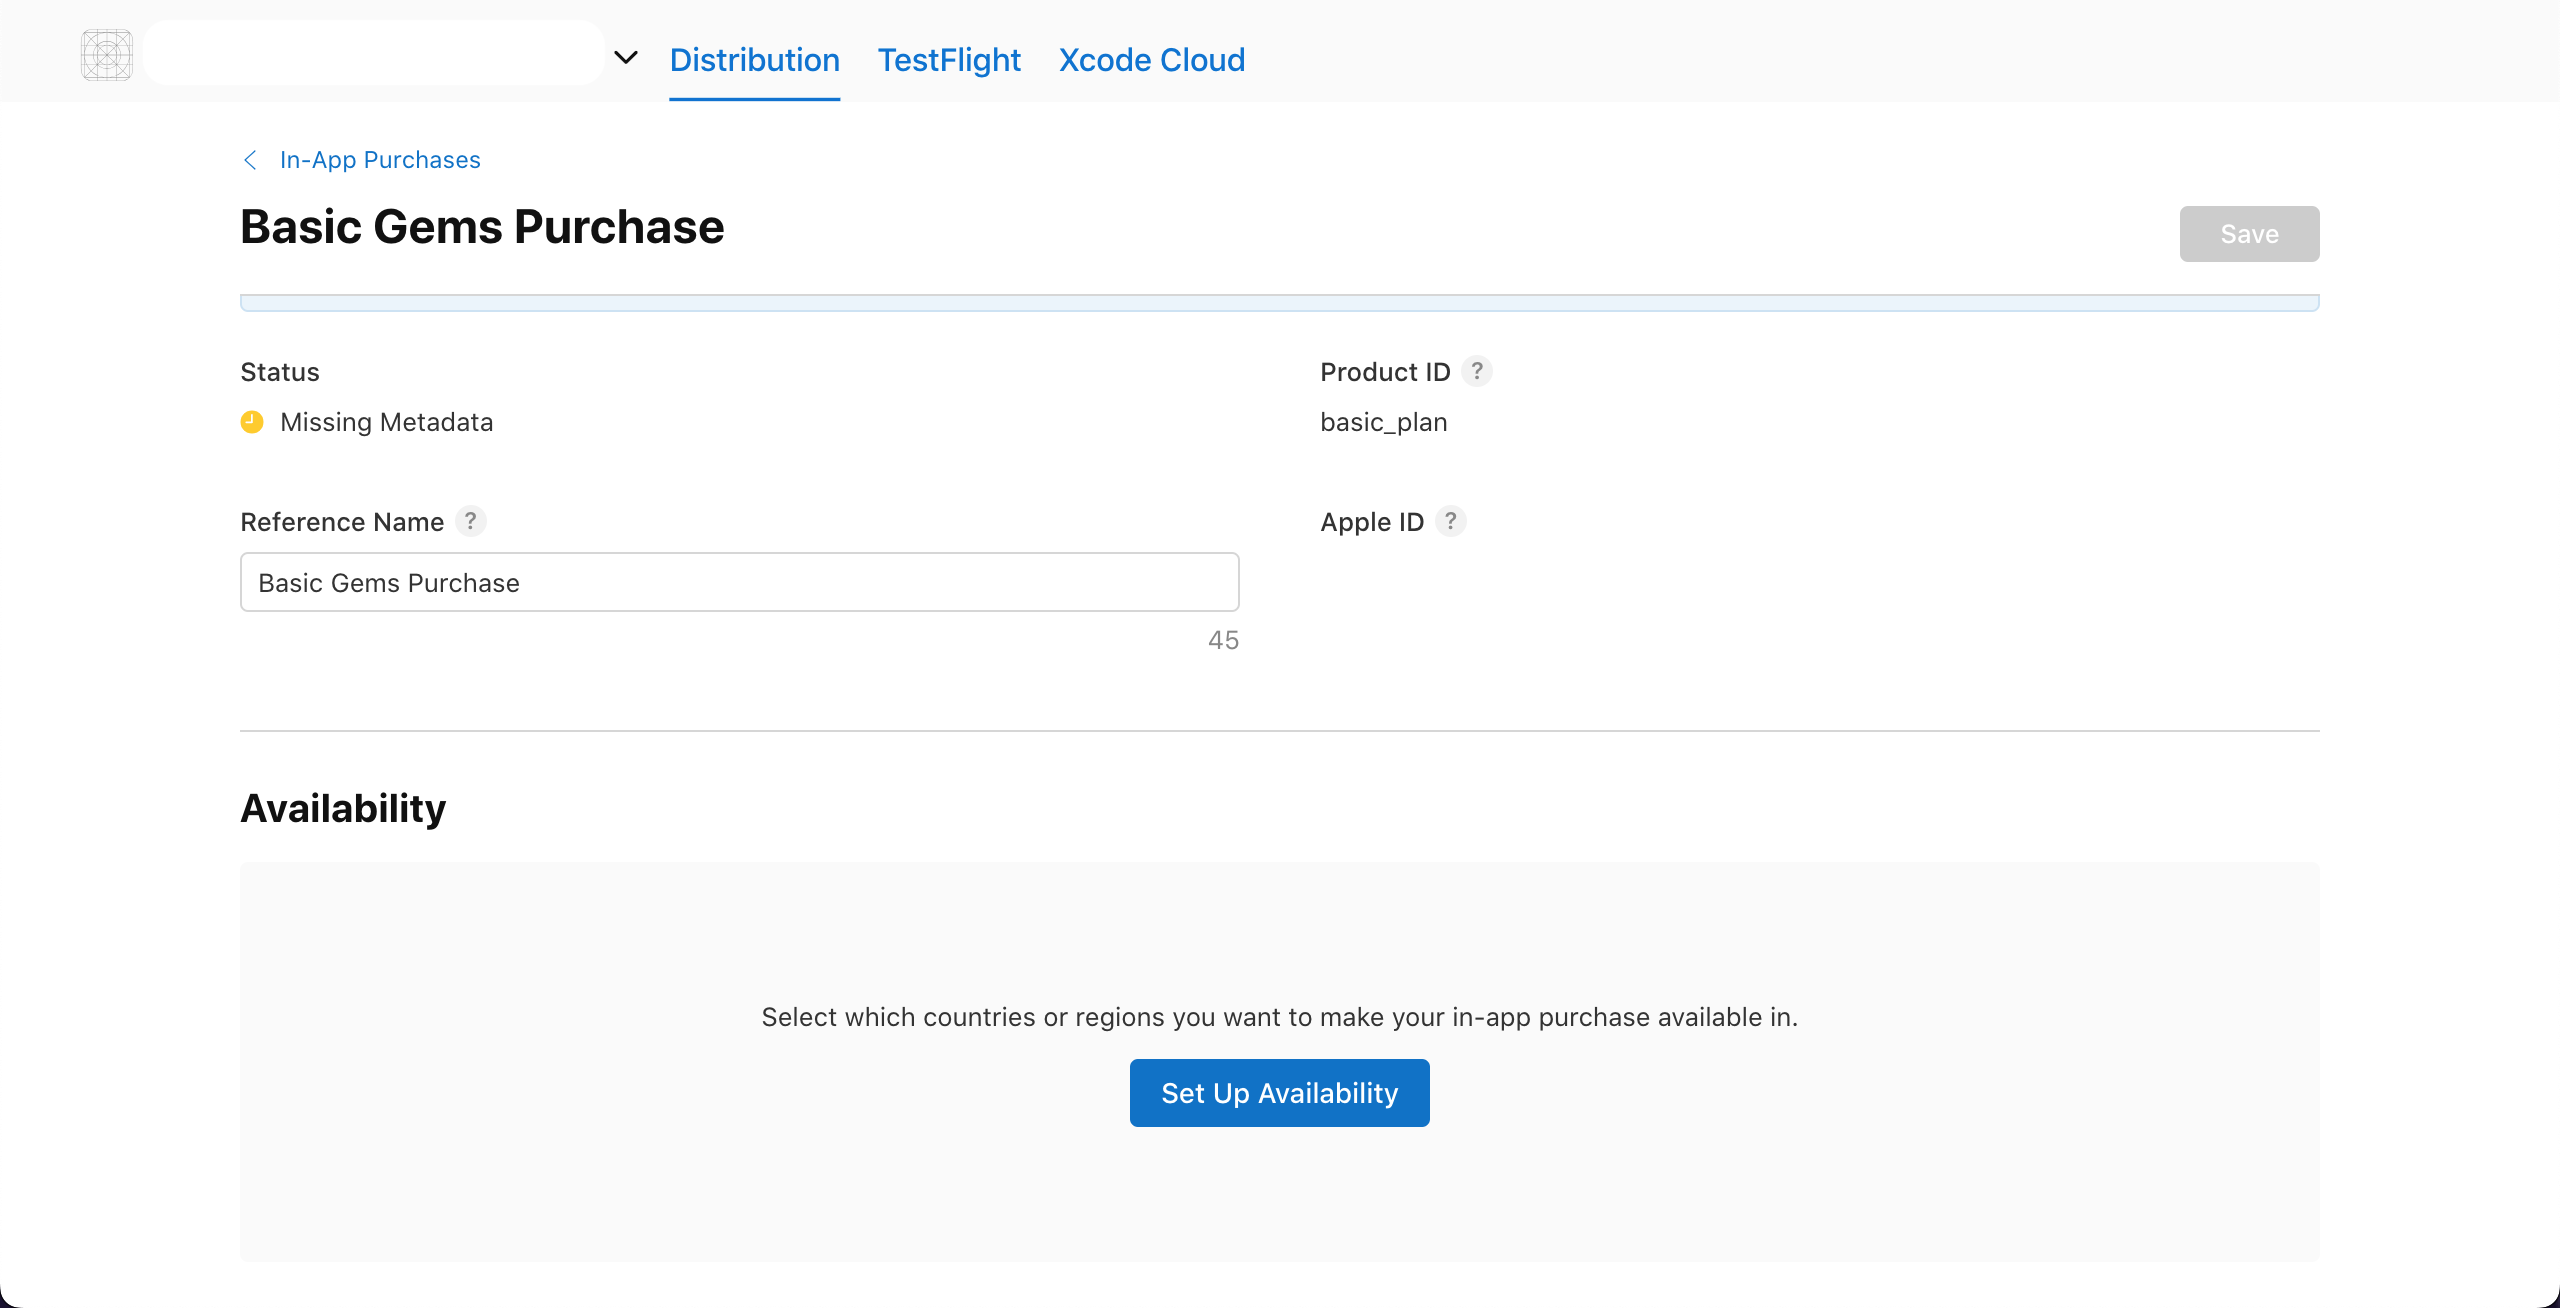
- Open draft by clicking on it and complete generating product.
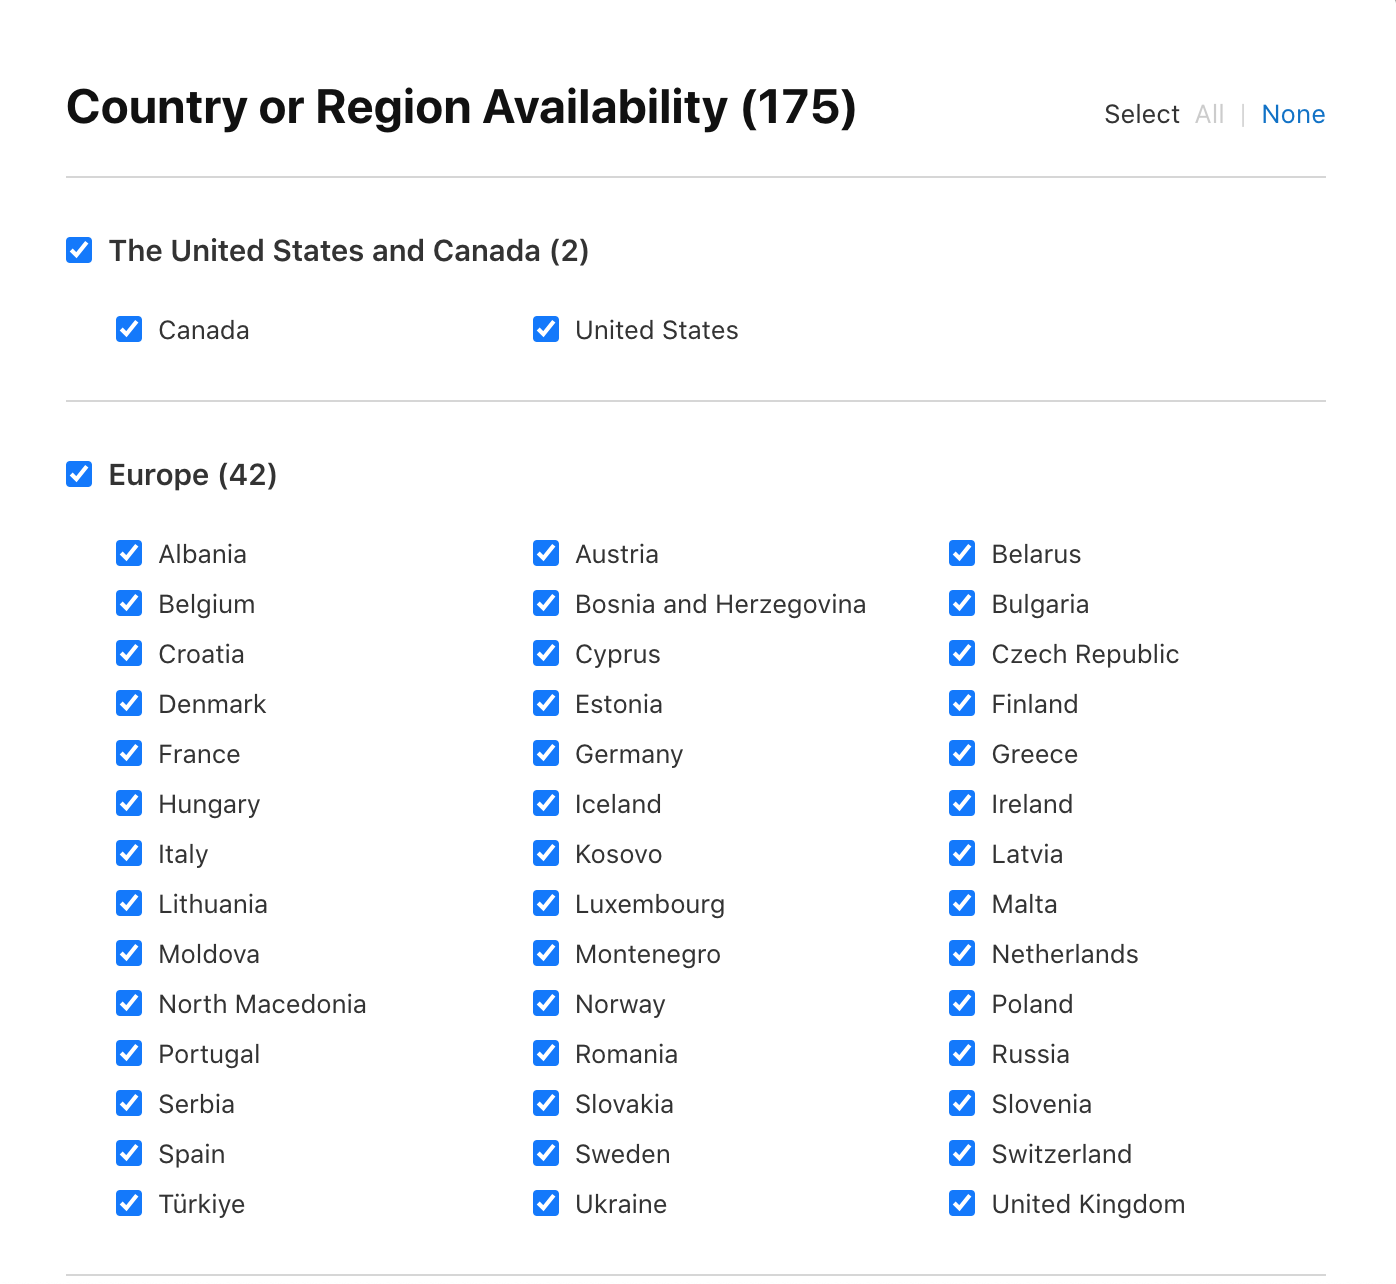
- Tap on Set Up Availability and select in which countries or region you want product to be available for purchase.
- Scroll down to see Done button.
- You can set tax category for this in-app purchase in Tax Category section.
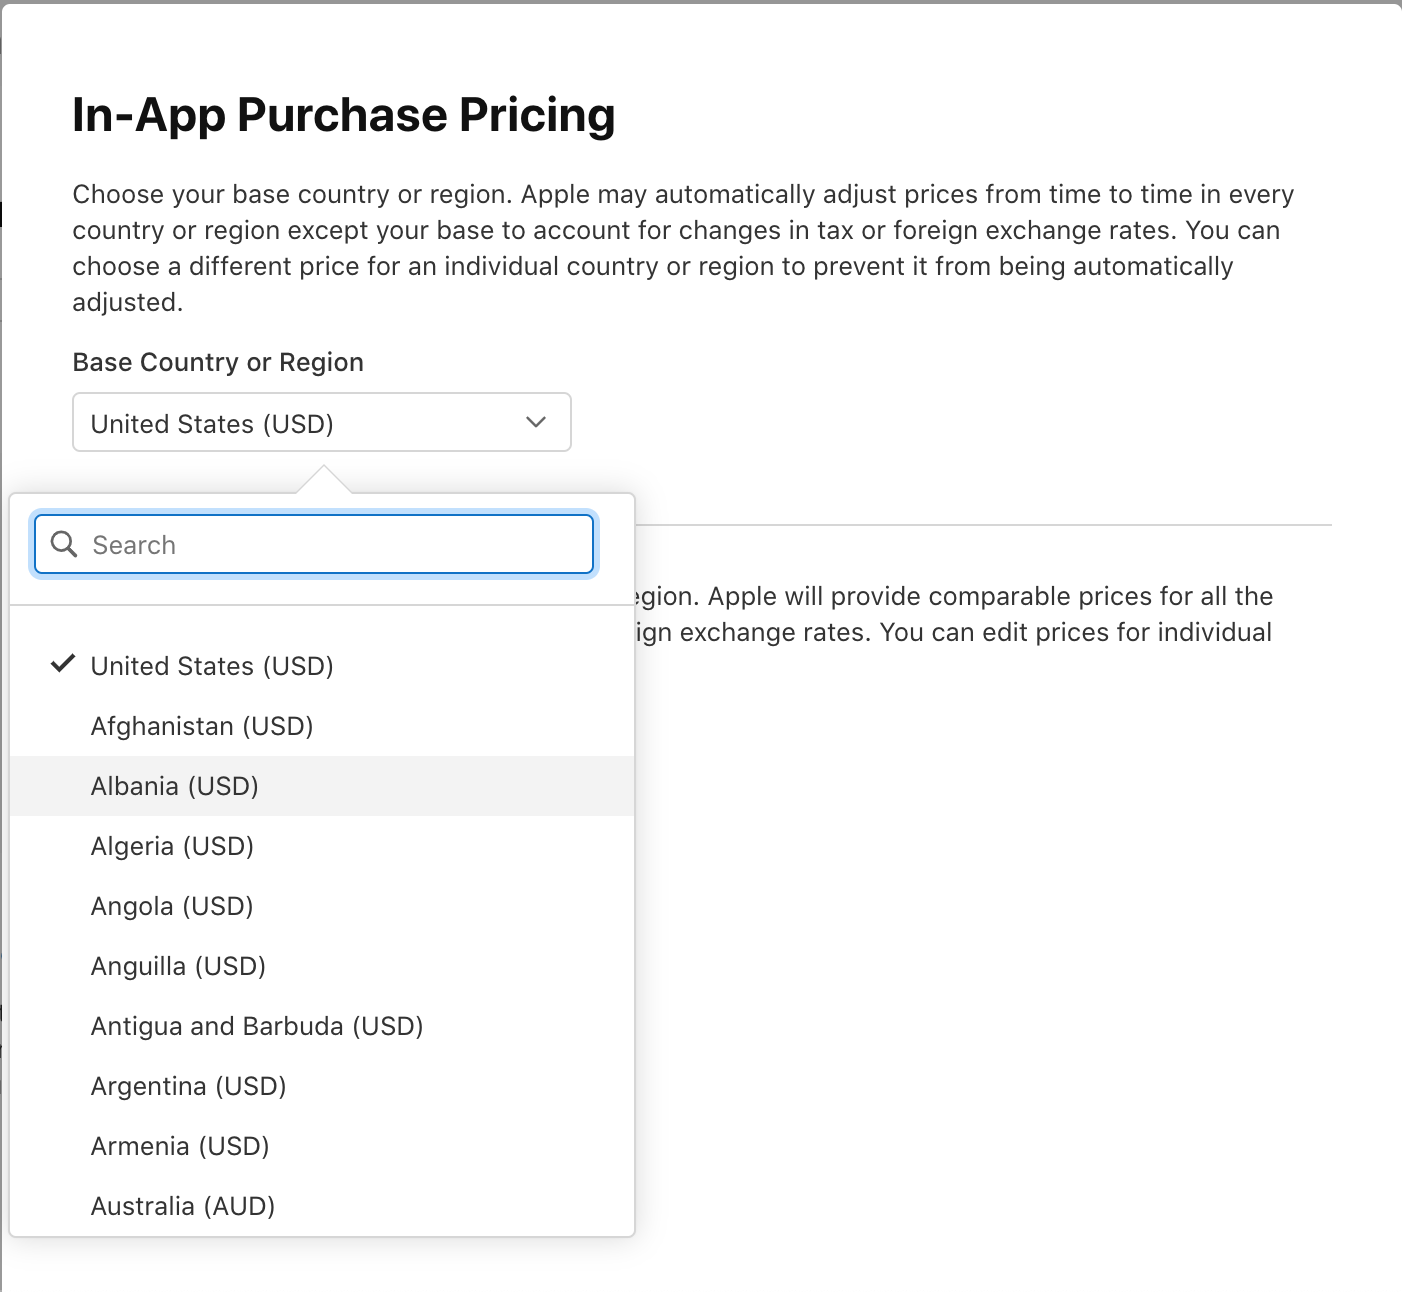
- Now tap on Price Schedule to setup pricing
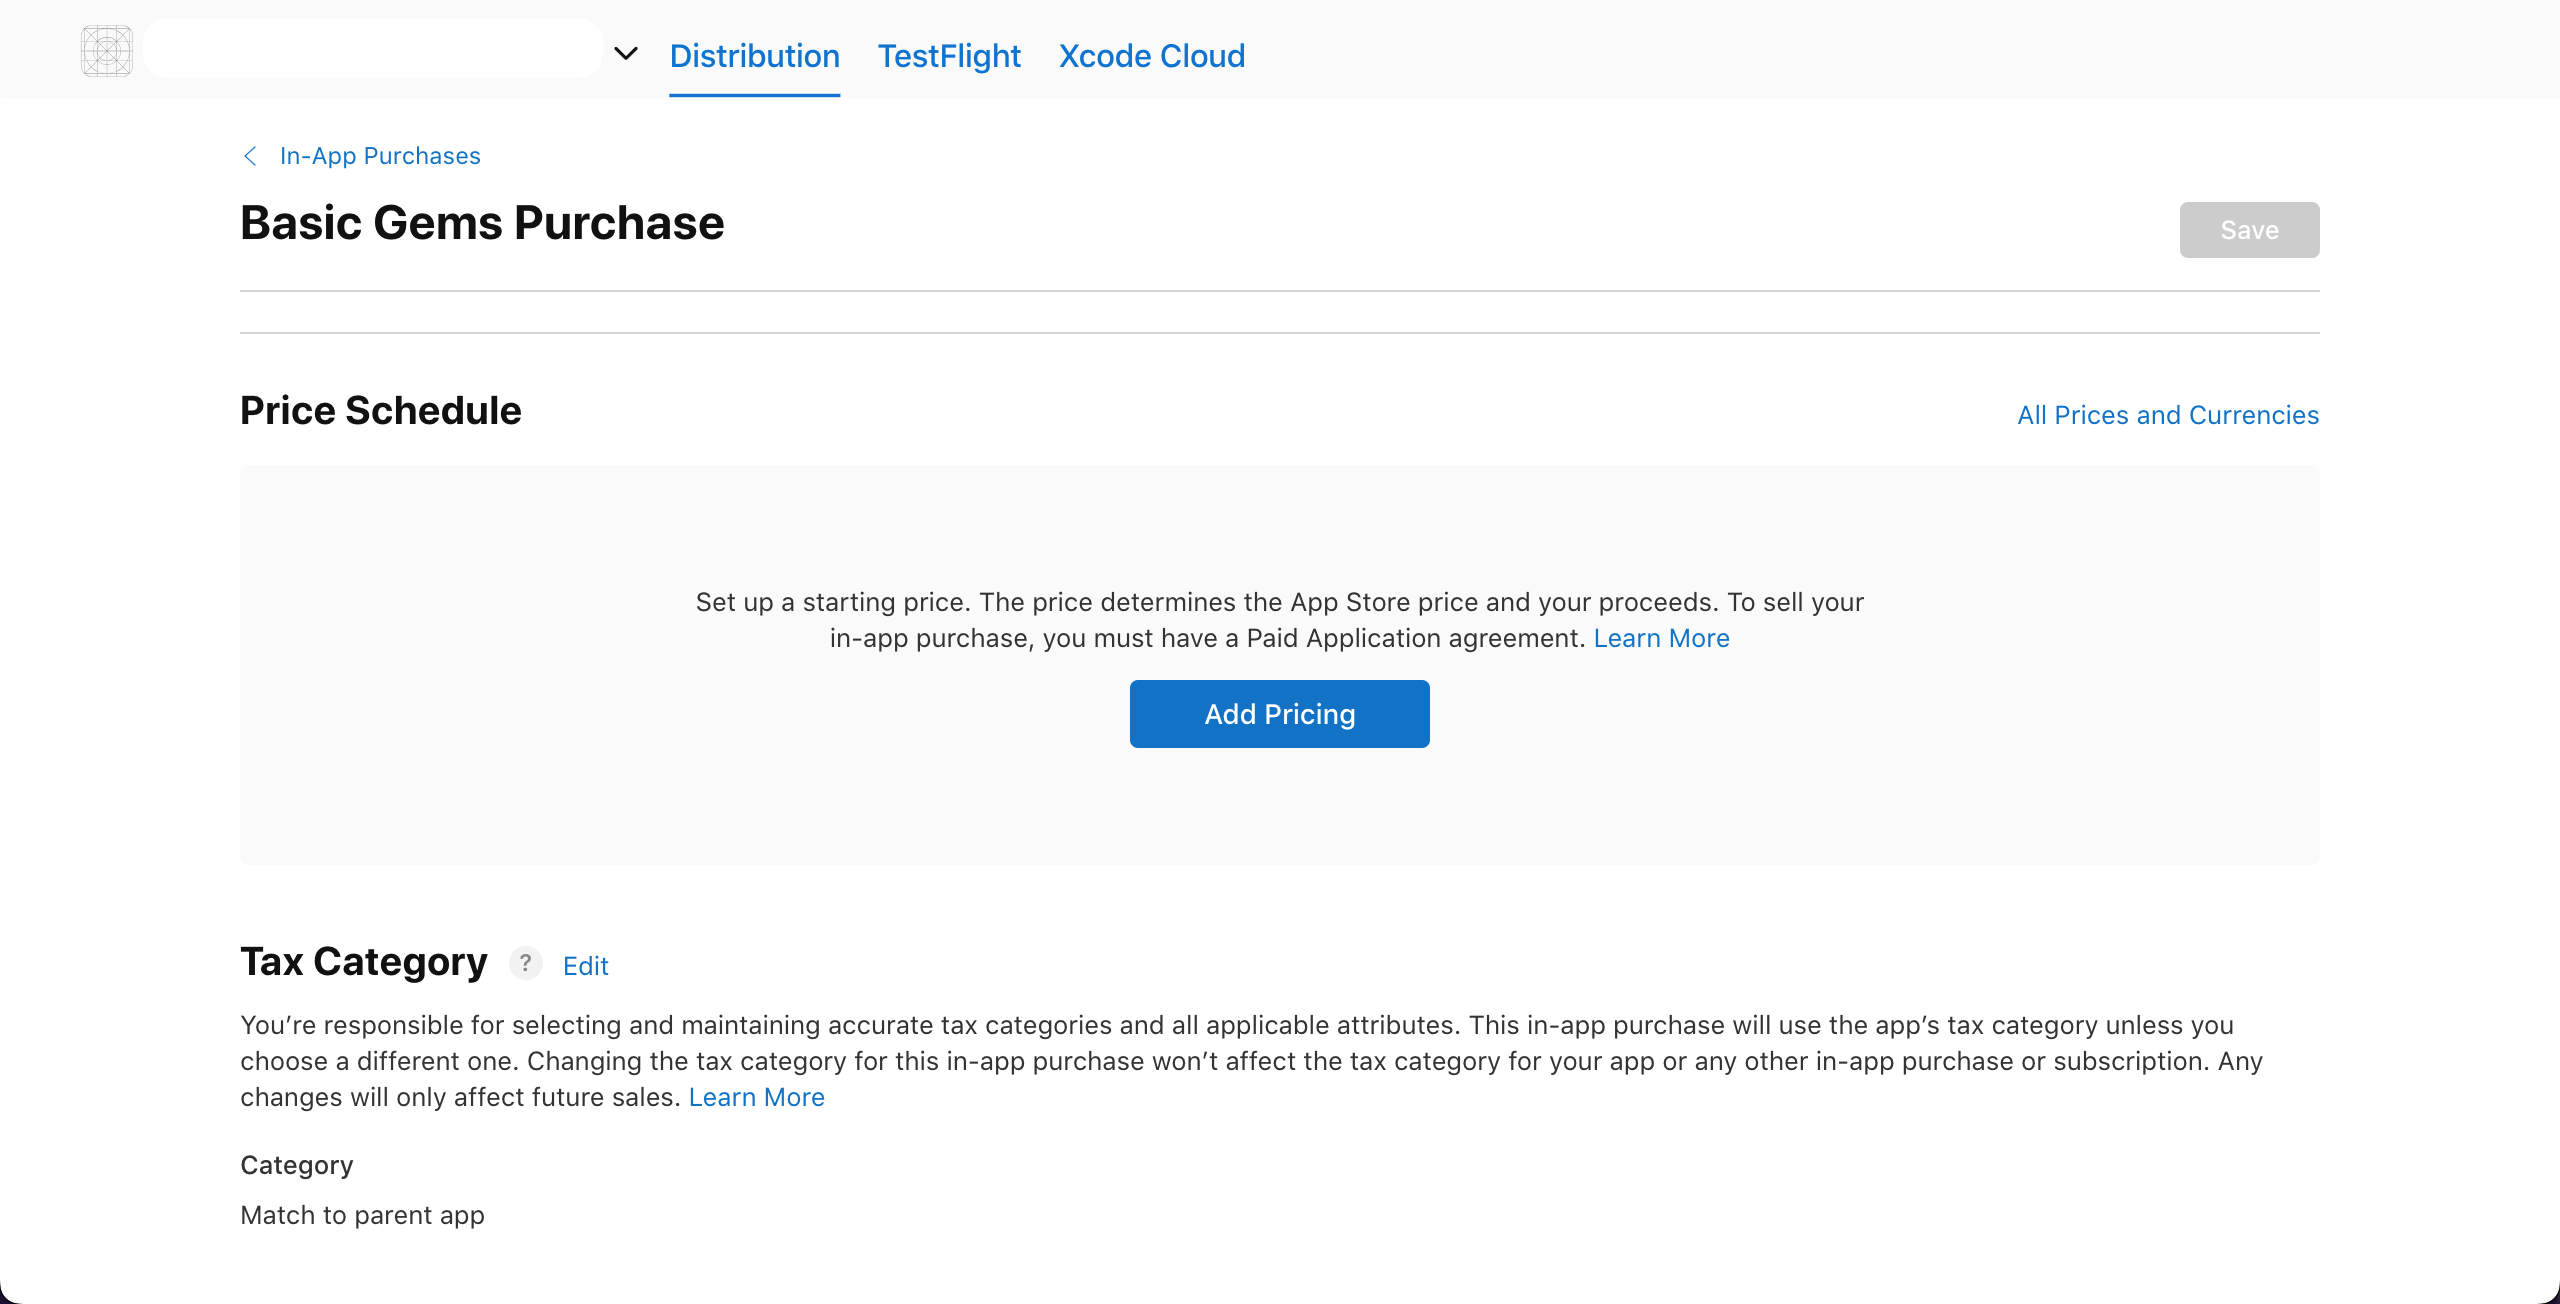
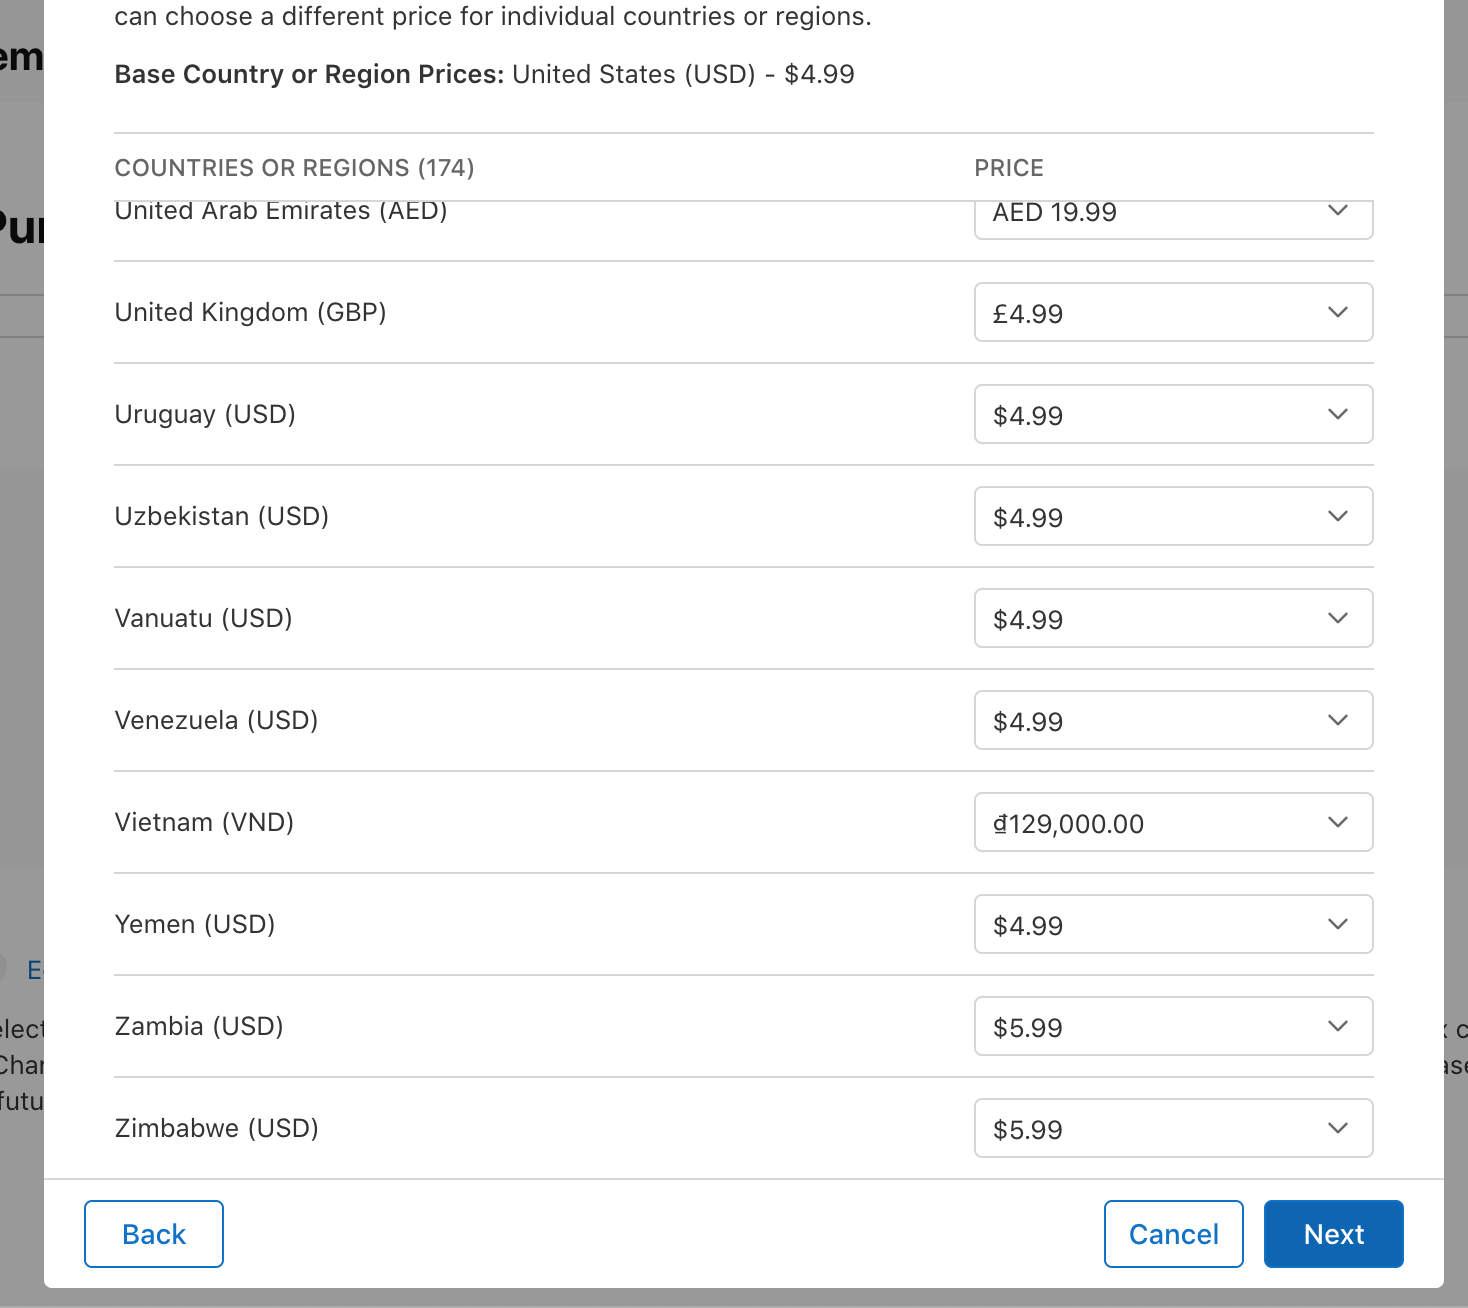
- Choose Base Country or Region.You cna read information about fields, in forms as well.

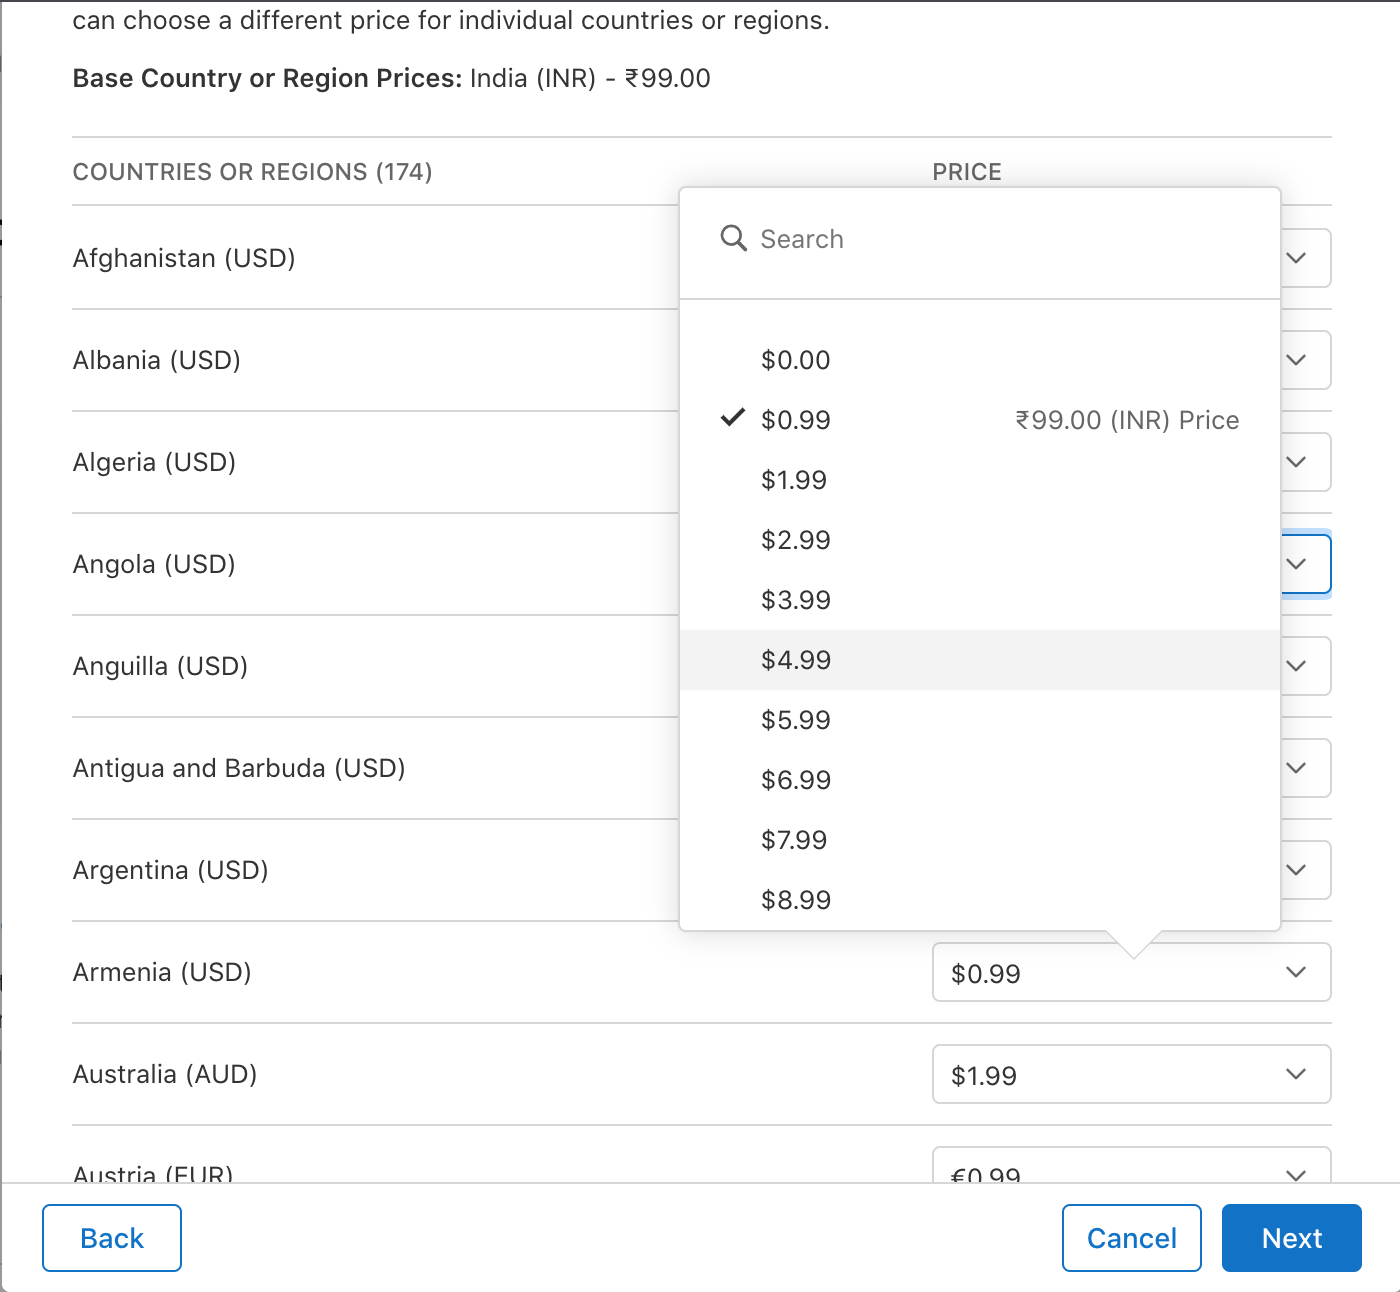
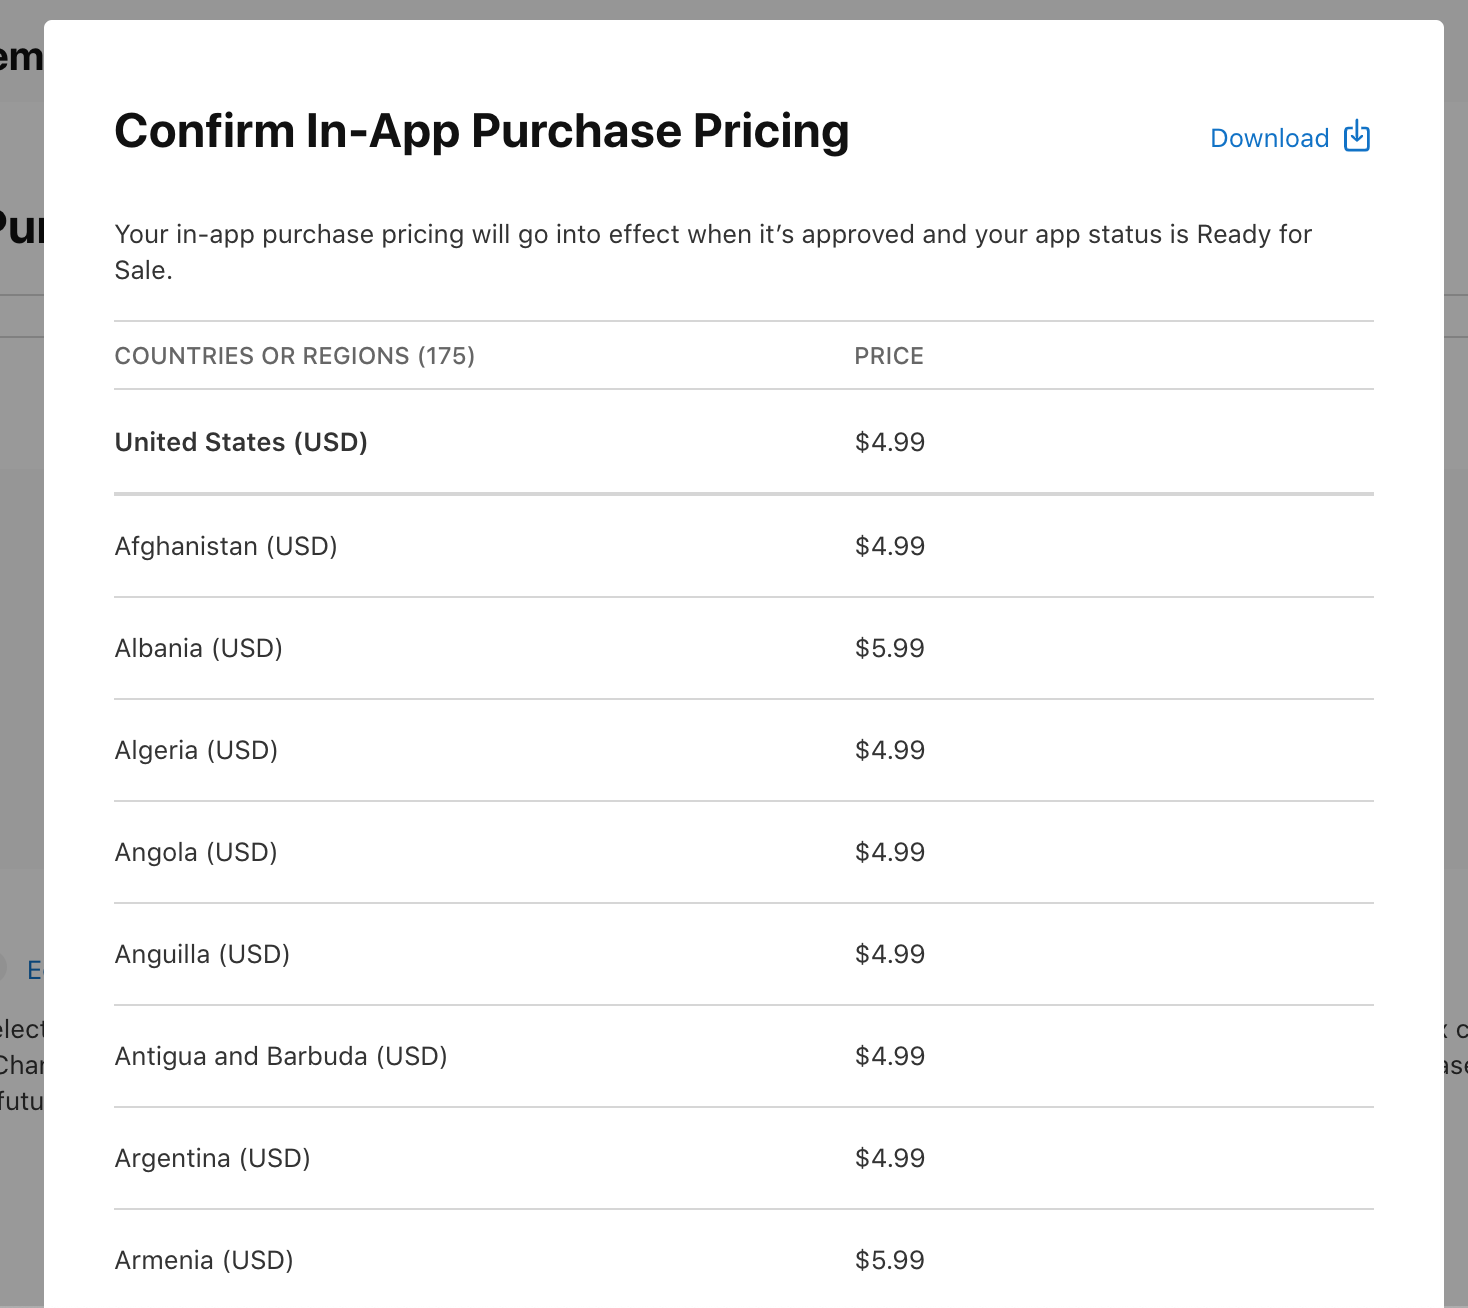
- Fill up the configuration as per your choices for countries/regions and pricing.
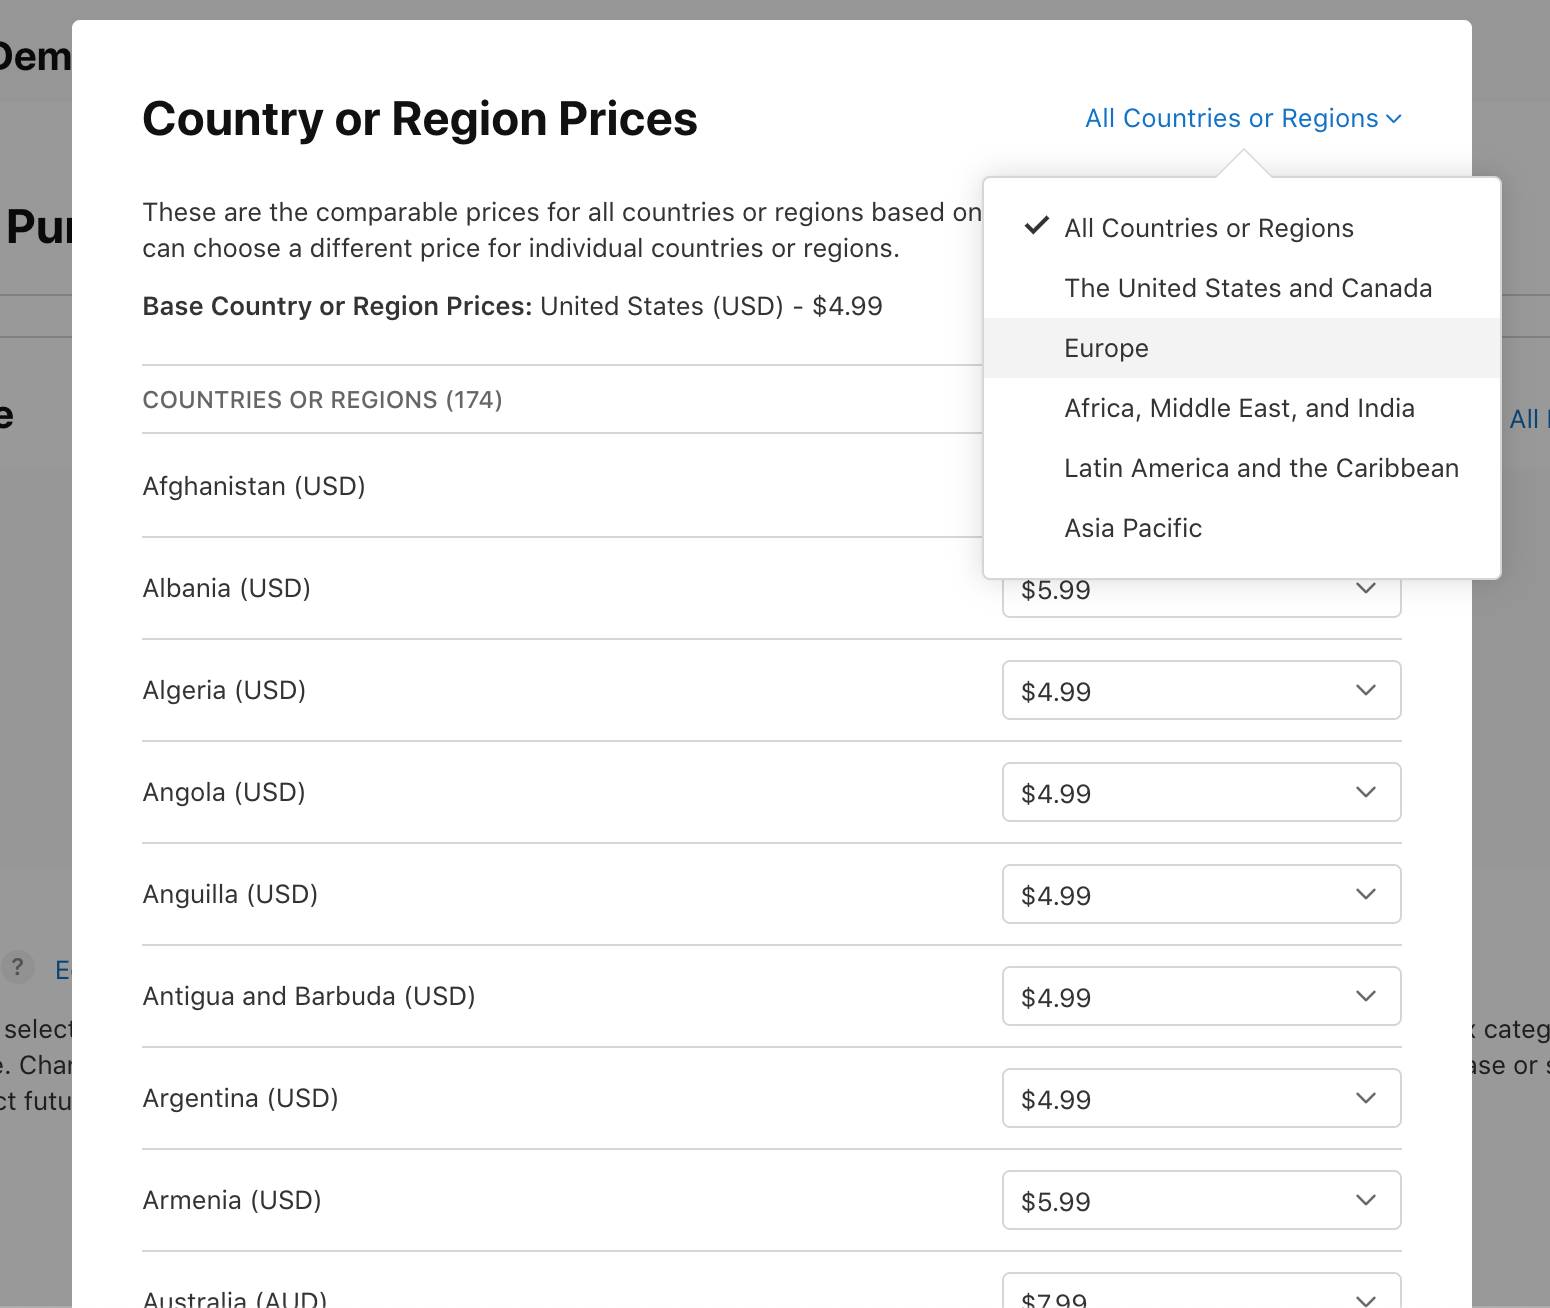
- You can set different prices for different countries and regions.
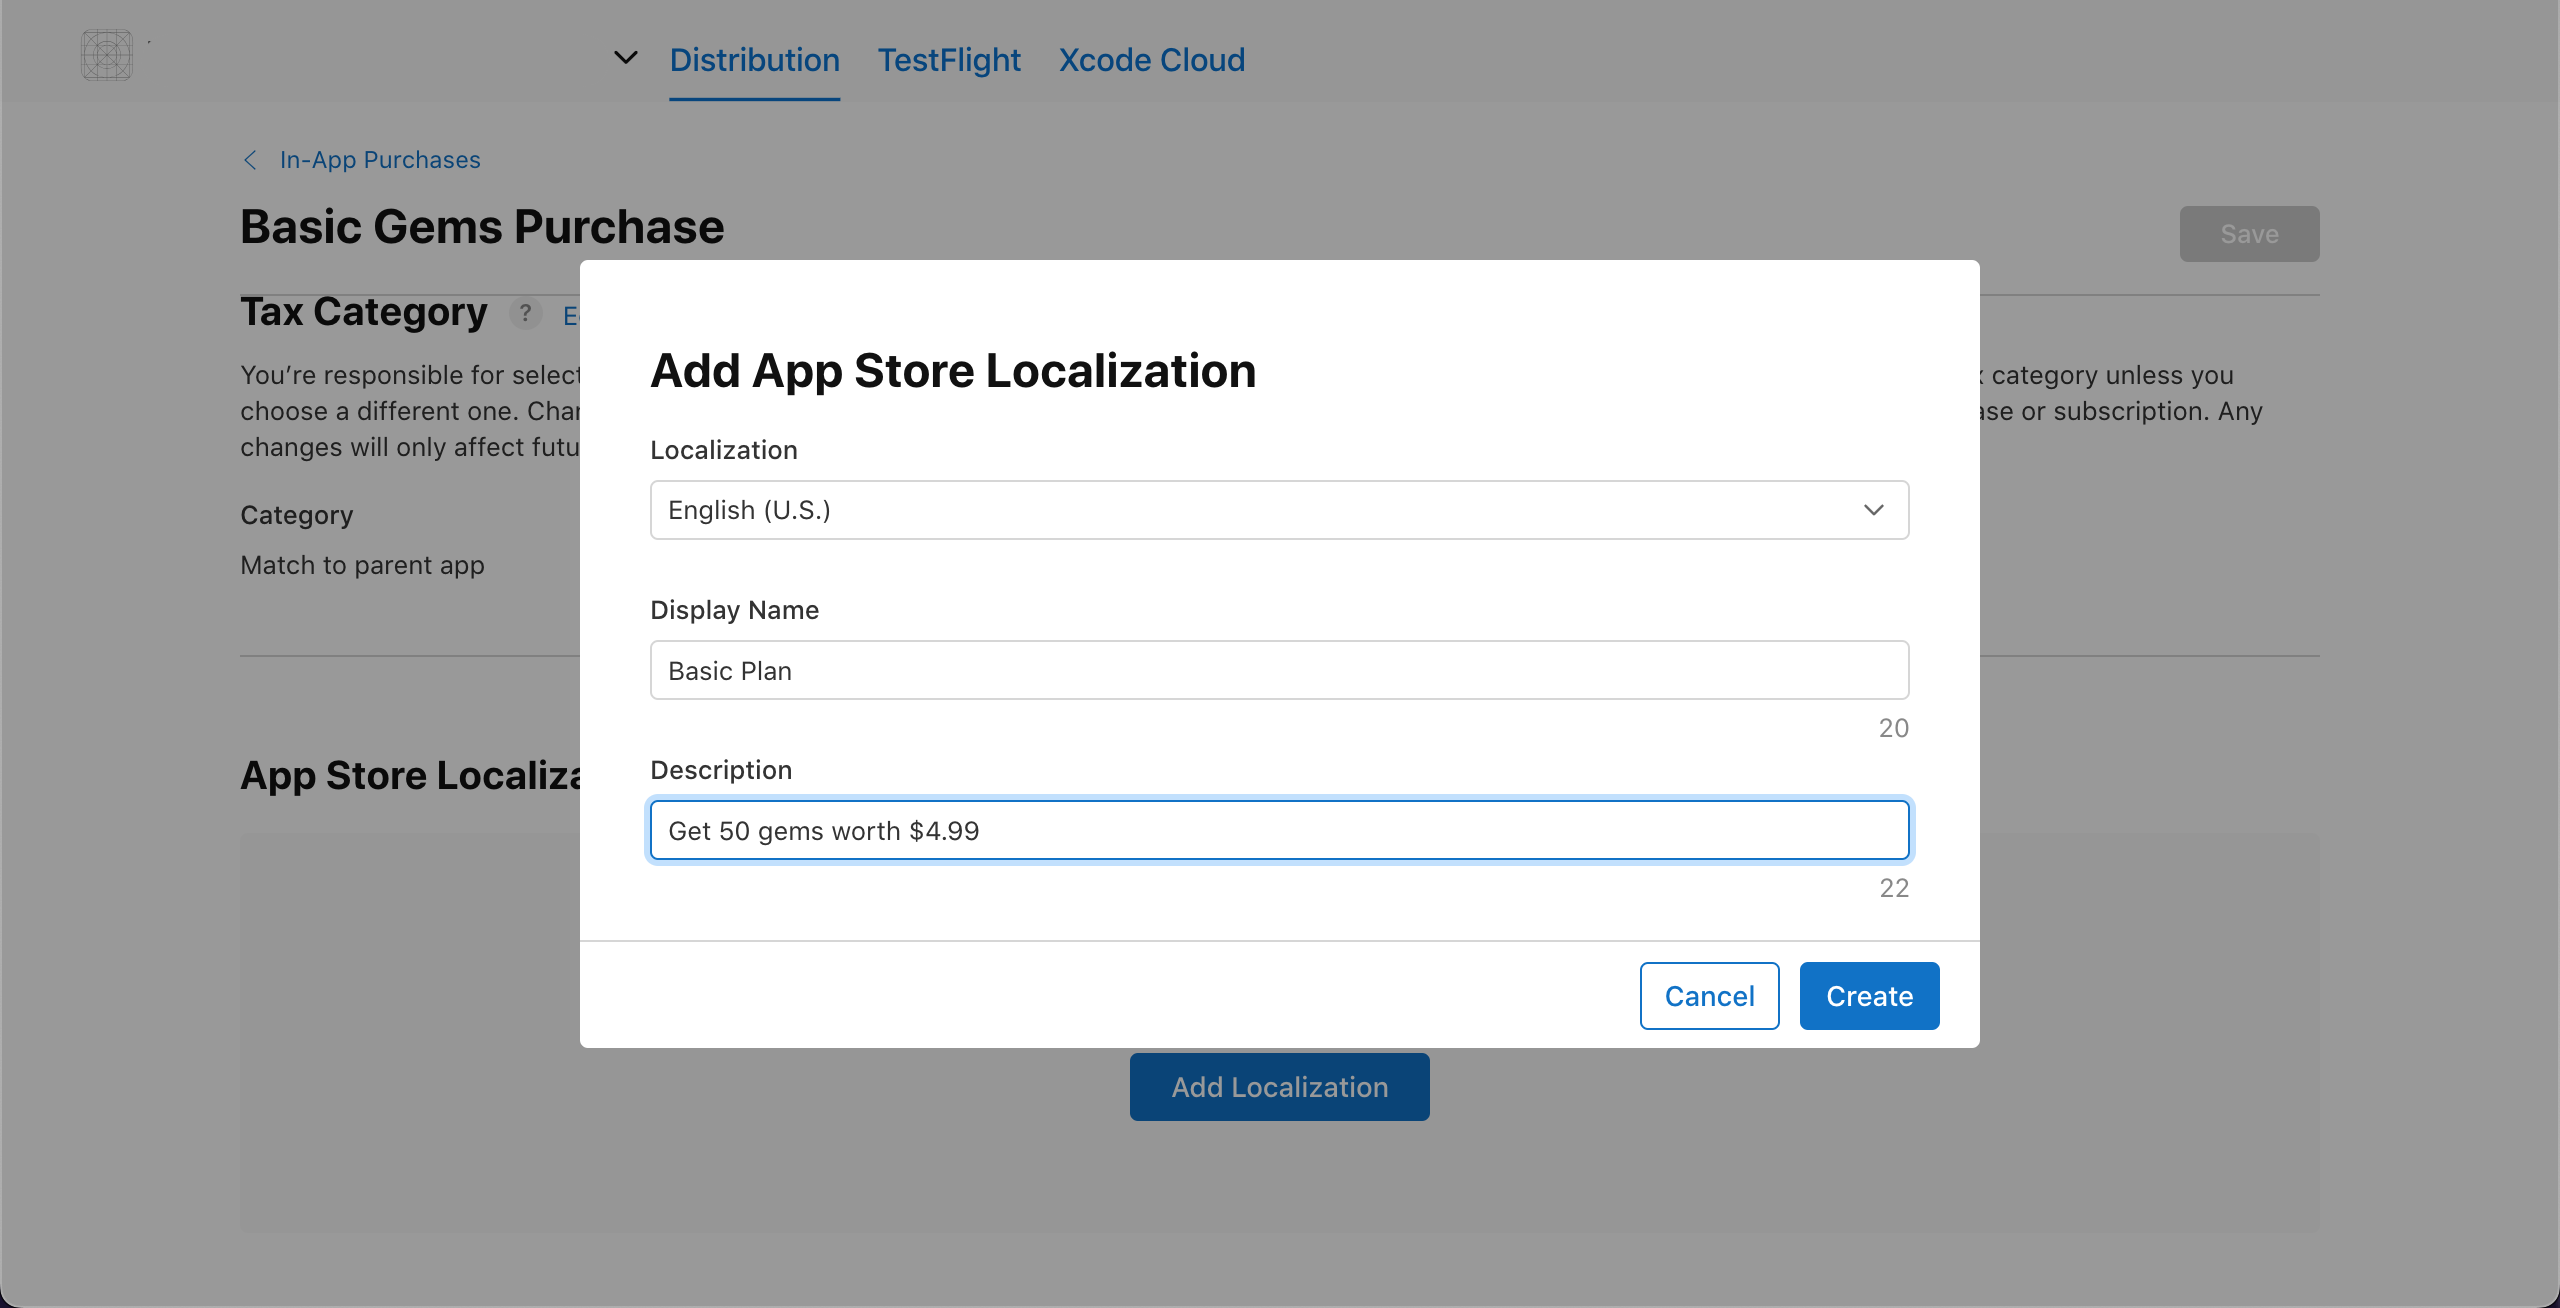
- Now set up Localization. Note that.
Note that...
- The localized display name and description for your in-app purchase will appear on the App Store.
- In Distribution section, the product status might yet showing Missing Metadata.
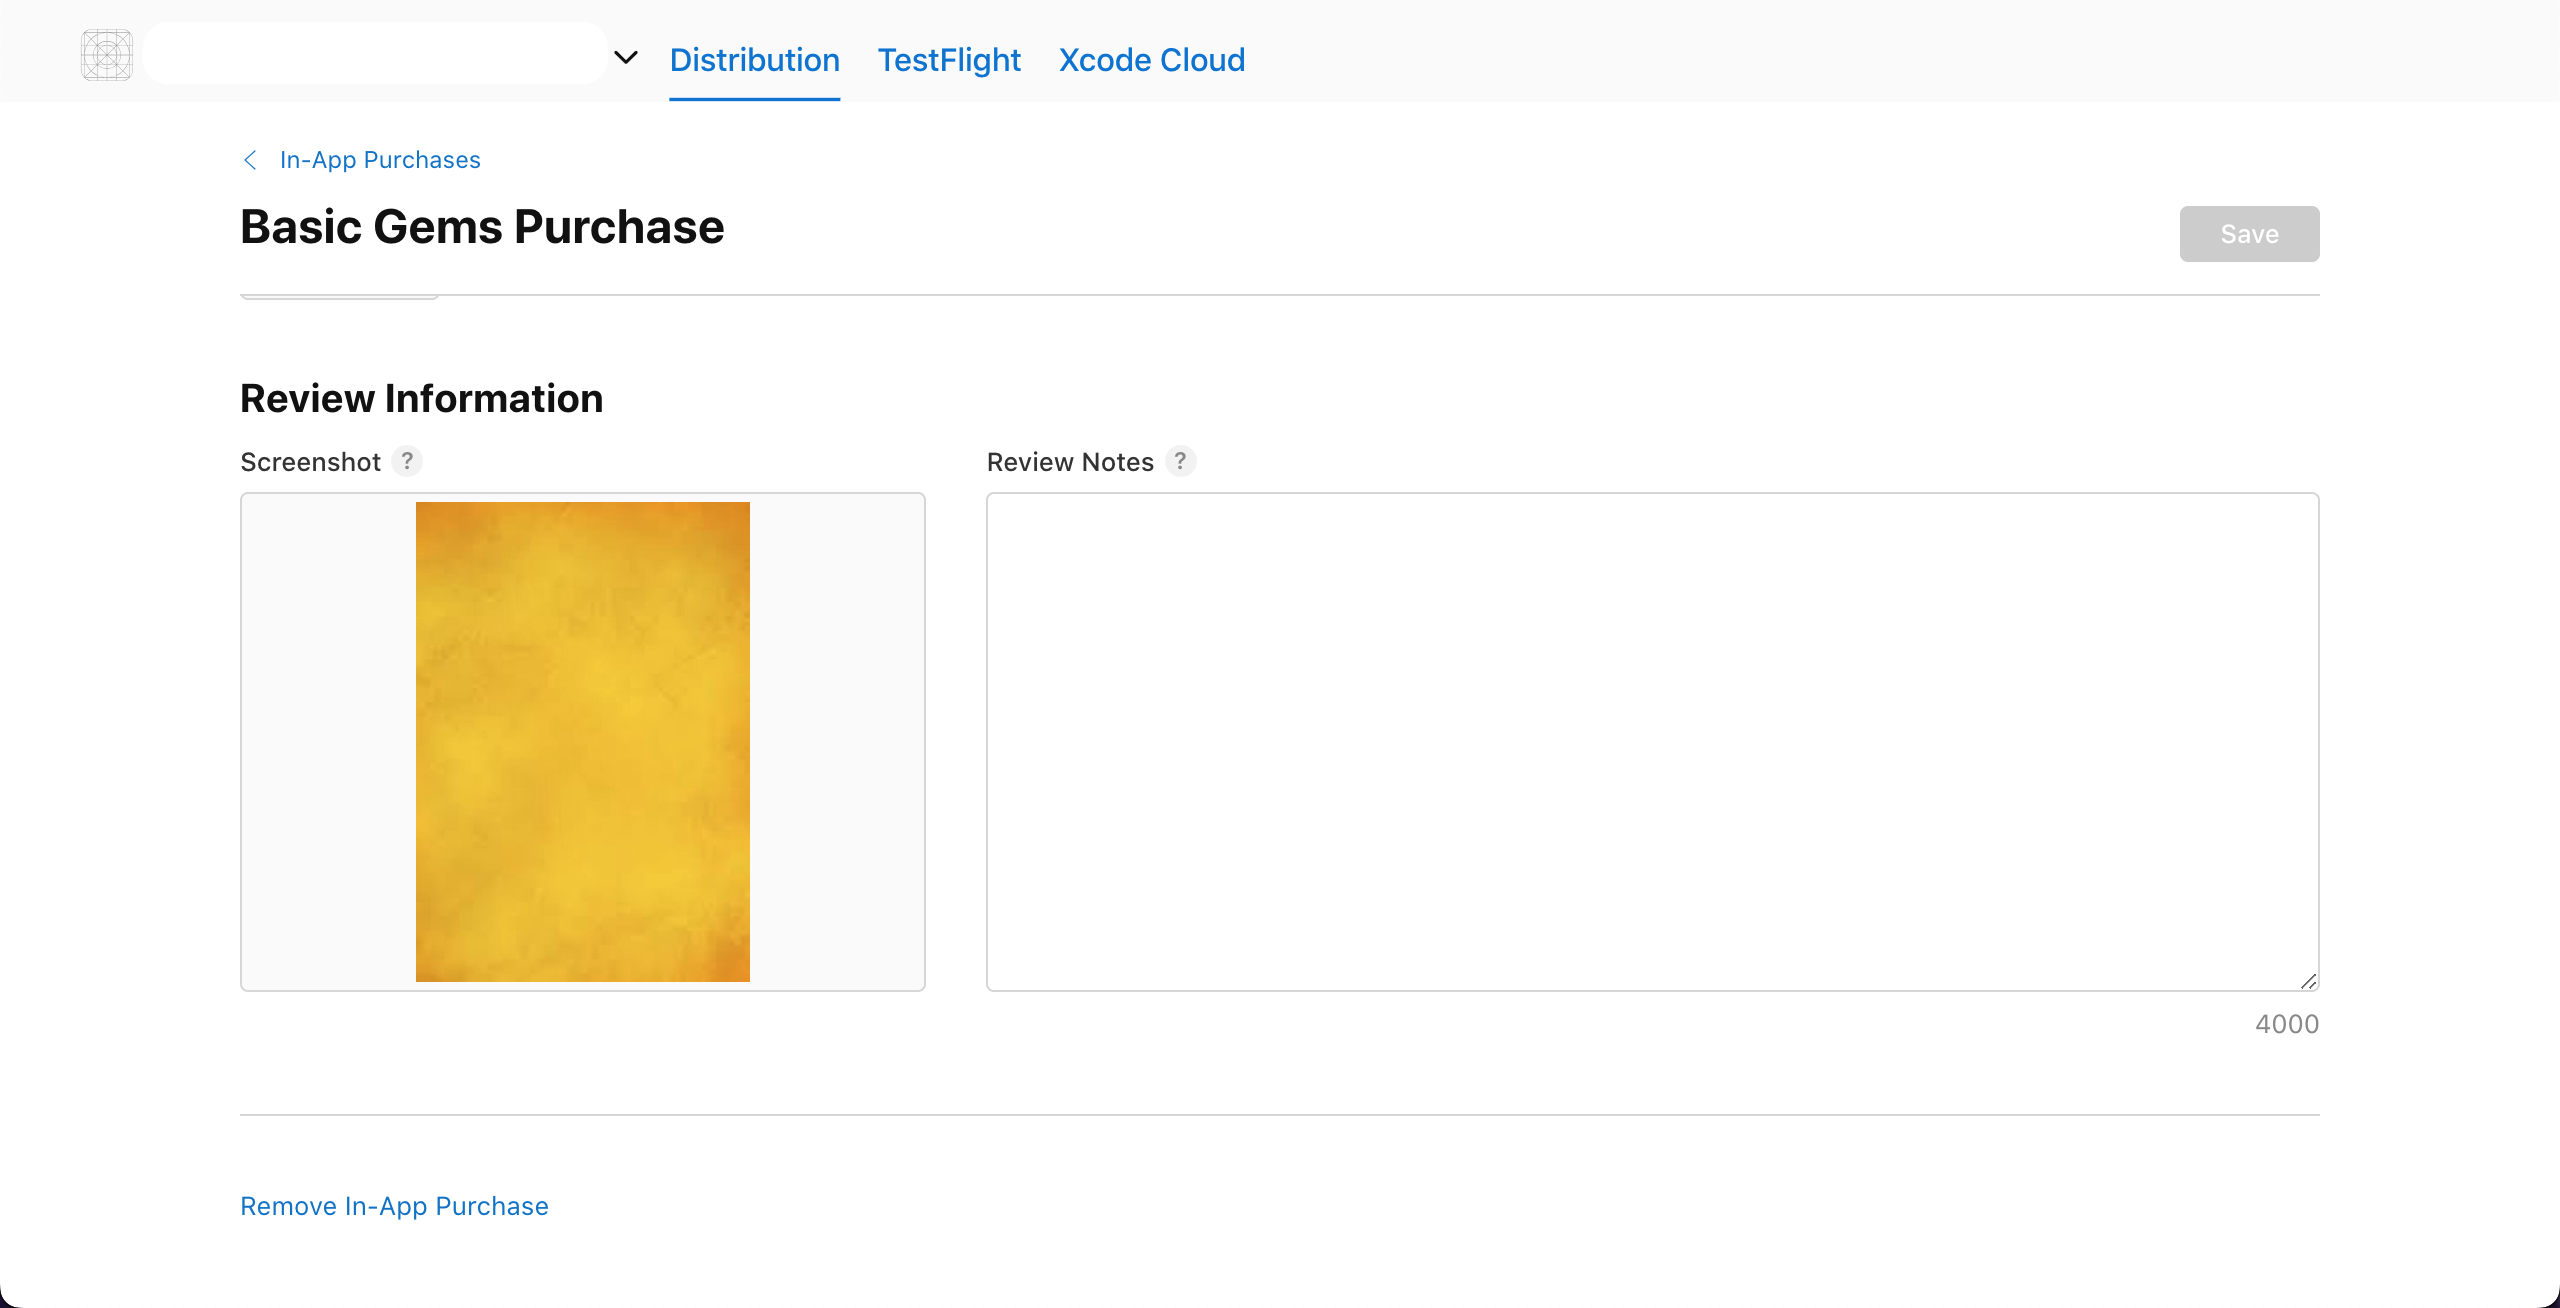
- For creating basic in-app product in App Store Connect, that is test-able and can be used for developing dubugging purpose, we have to upload a screenshot of an application.
- For testing purpose add any random image of size 640 x 920.
- Status must be showing as Ready to Submit.
danger
- Change the Screenshot and Review notes once you want to submit for review.
- Once you’ve uploaded a screenshot, you can update it but can not remove it.